
The Snip Key Art
Producing the key art for my new short The Snip was a really fulfilling creative challenge. And the results are really eye catching, yet fairly straightforward so I thought I should post how I was able to put these together and play around with the results.
Attention grabbing key art is also lacking from so many shorts these days, that I really hope people start to recognise just how helpful this can be in catching your audience’s attention.
Step 1
Cycle through several different ideas in the concept stage.

Step 2
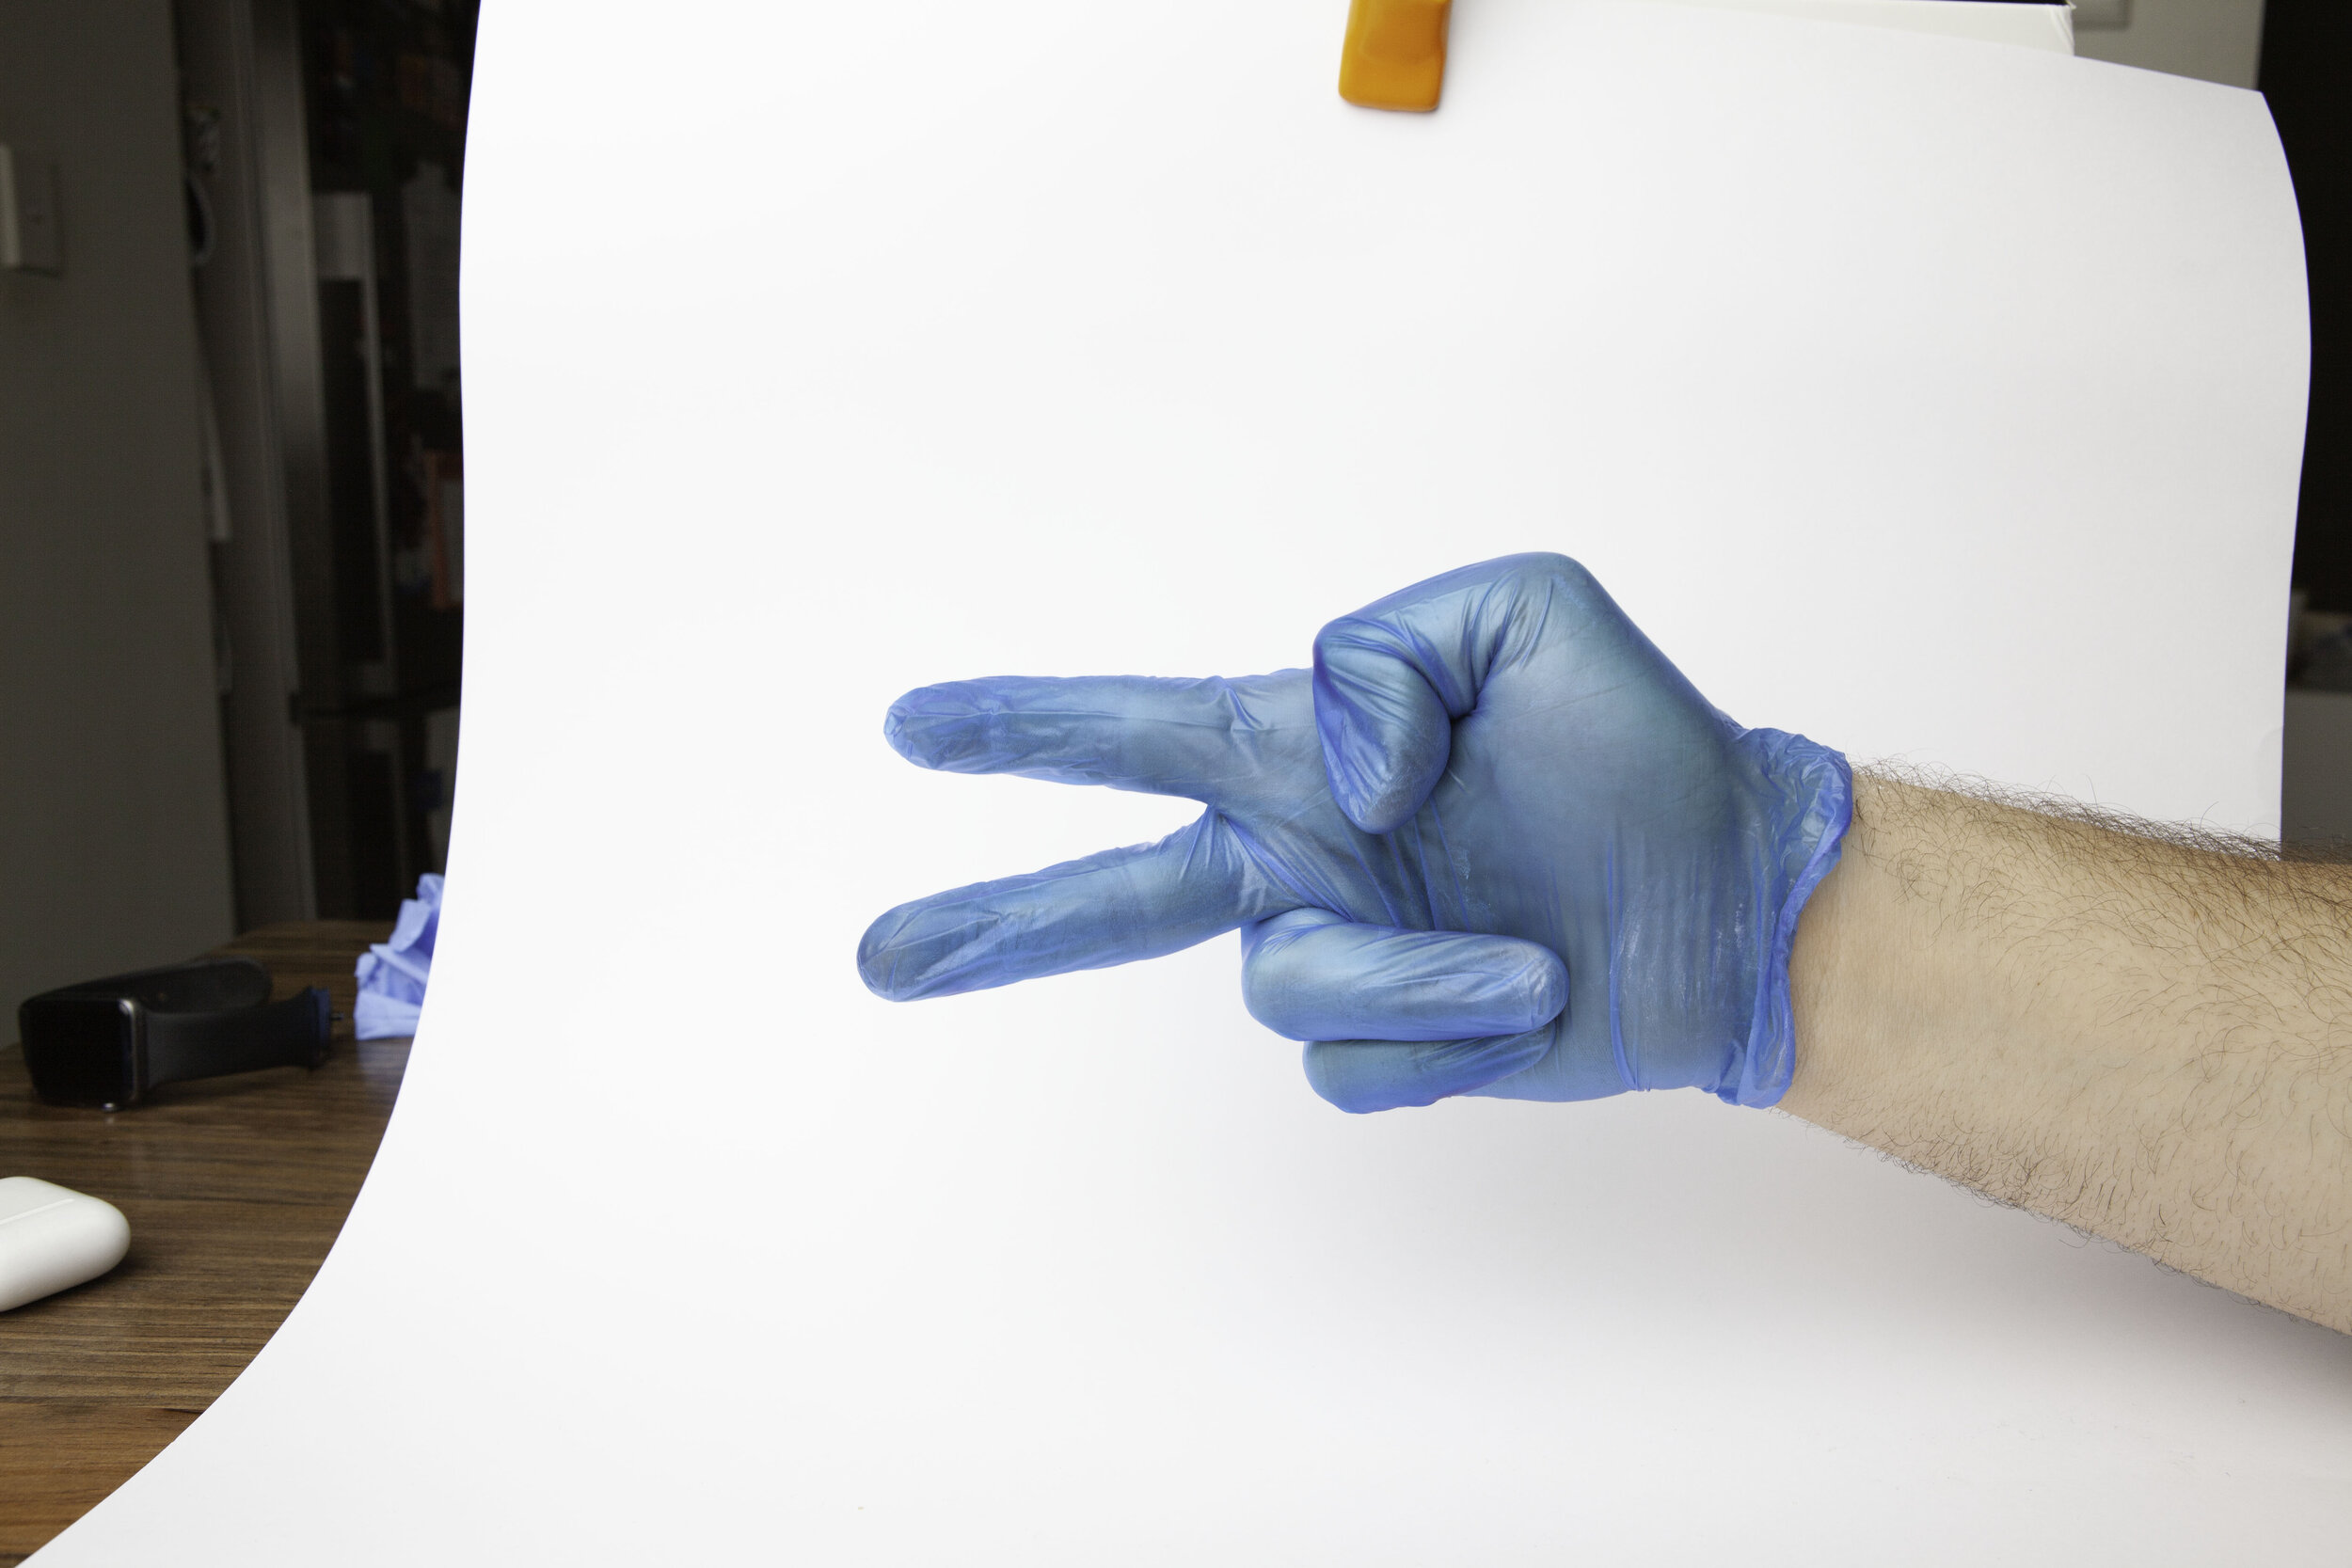
Realise that Aaron Jeffrey’s behaviour in the film with his gloves is iconic.
Step 3
Try to find the appropriate blue gloves which fit your hands. Tear through several until a local burger joint has the right size.
It probably helps if you can get it in focus.
Step 4
Create an impromptu photo studio in your living room, and experiment with lighting before eventually deciding that a large overhead soft source gives you the best overall quality of light. Use a white card behind to assist with the later selection and bounce more light into fill the shadows.

Plenty of thumb action happening here.
Step 5
Take a bunch of photos and experience that it’s kinda difficult to align your hand and activate the shutter at the same time, but eventually come to a realisation that you have a far more flexible forearm than you knew!
Step 6
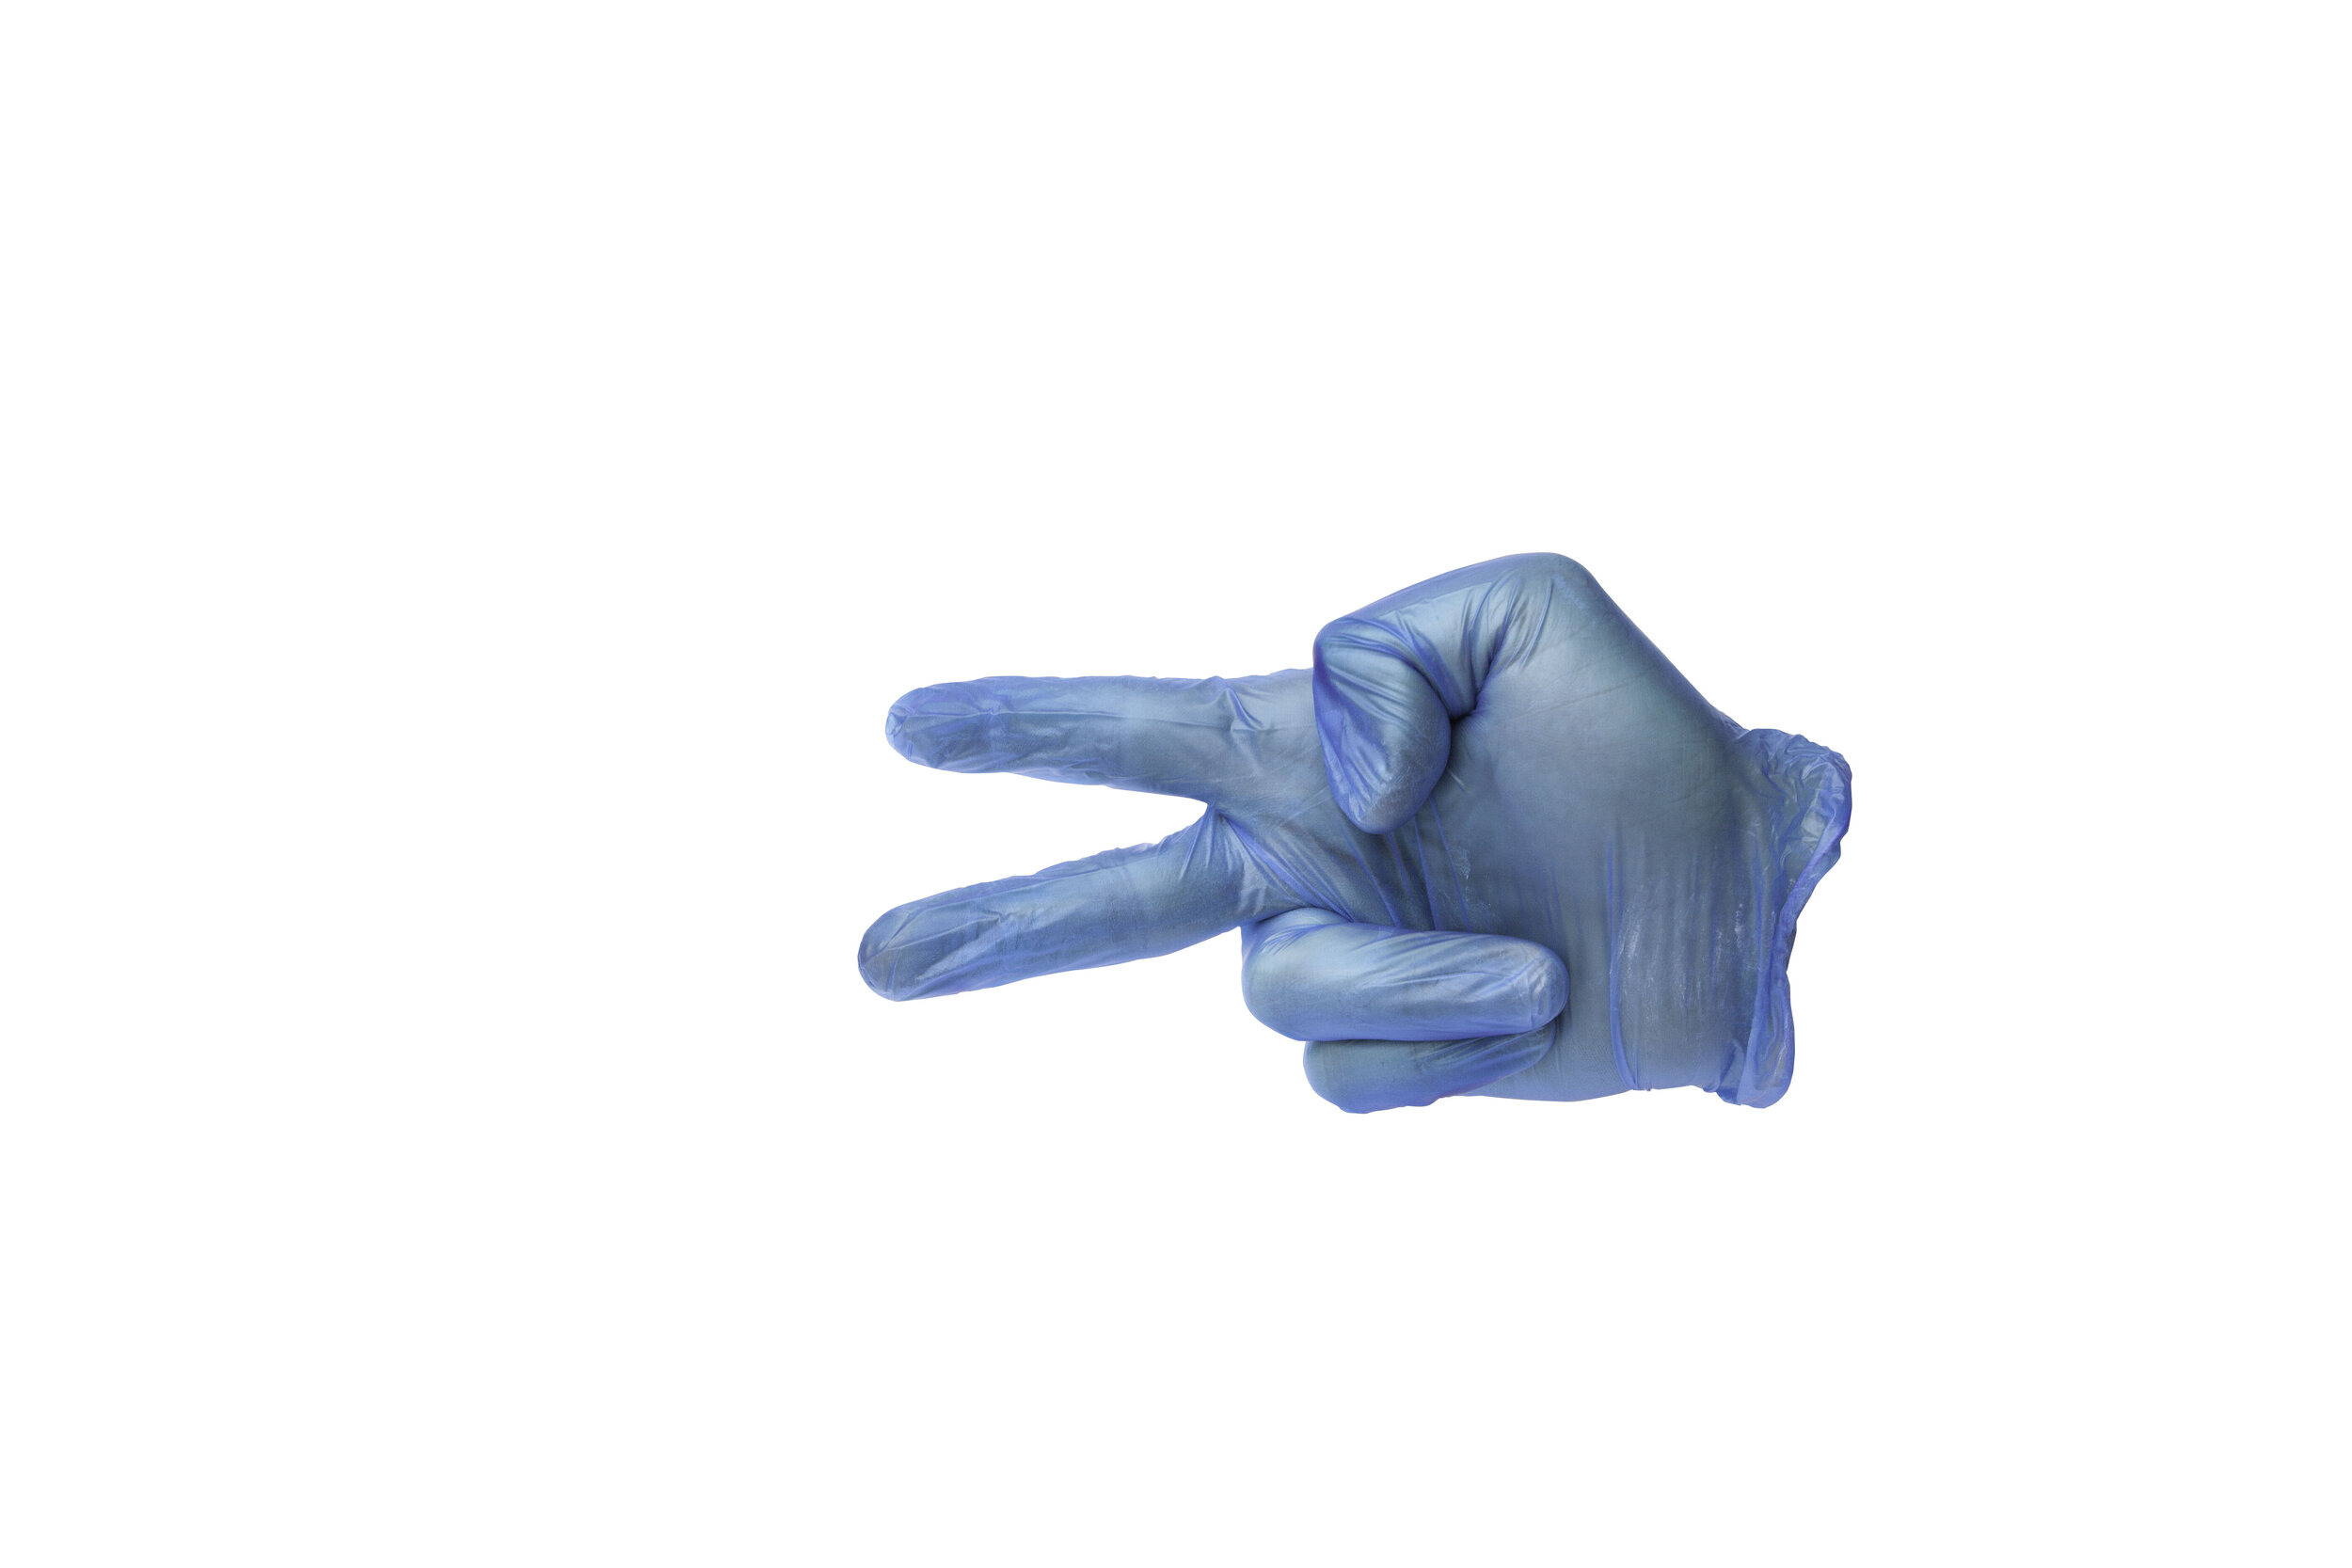
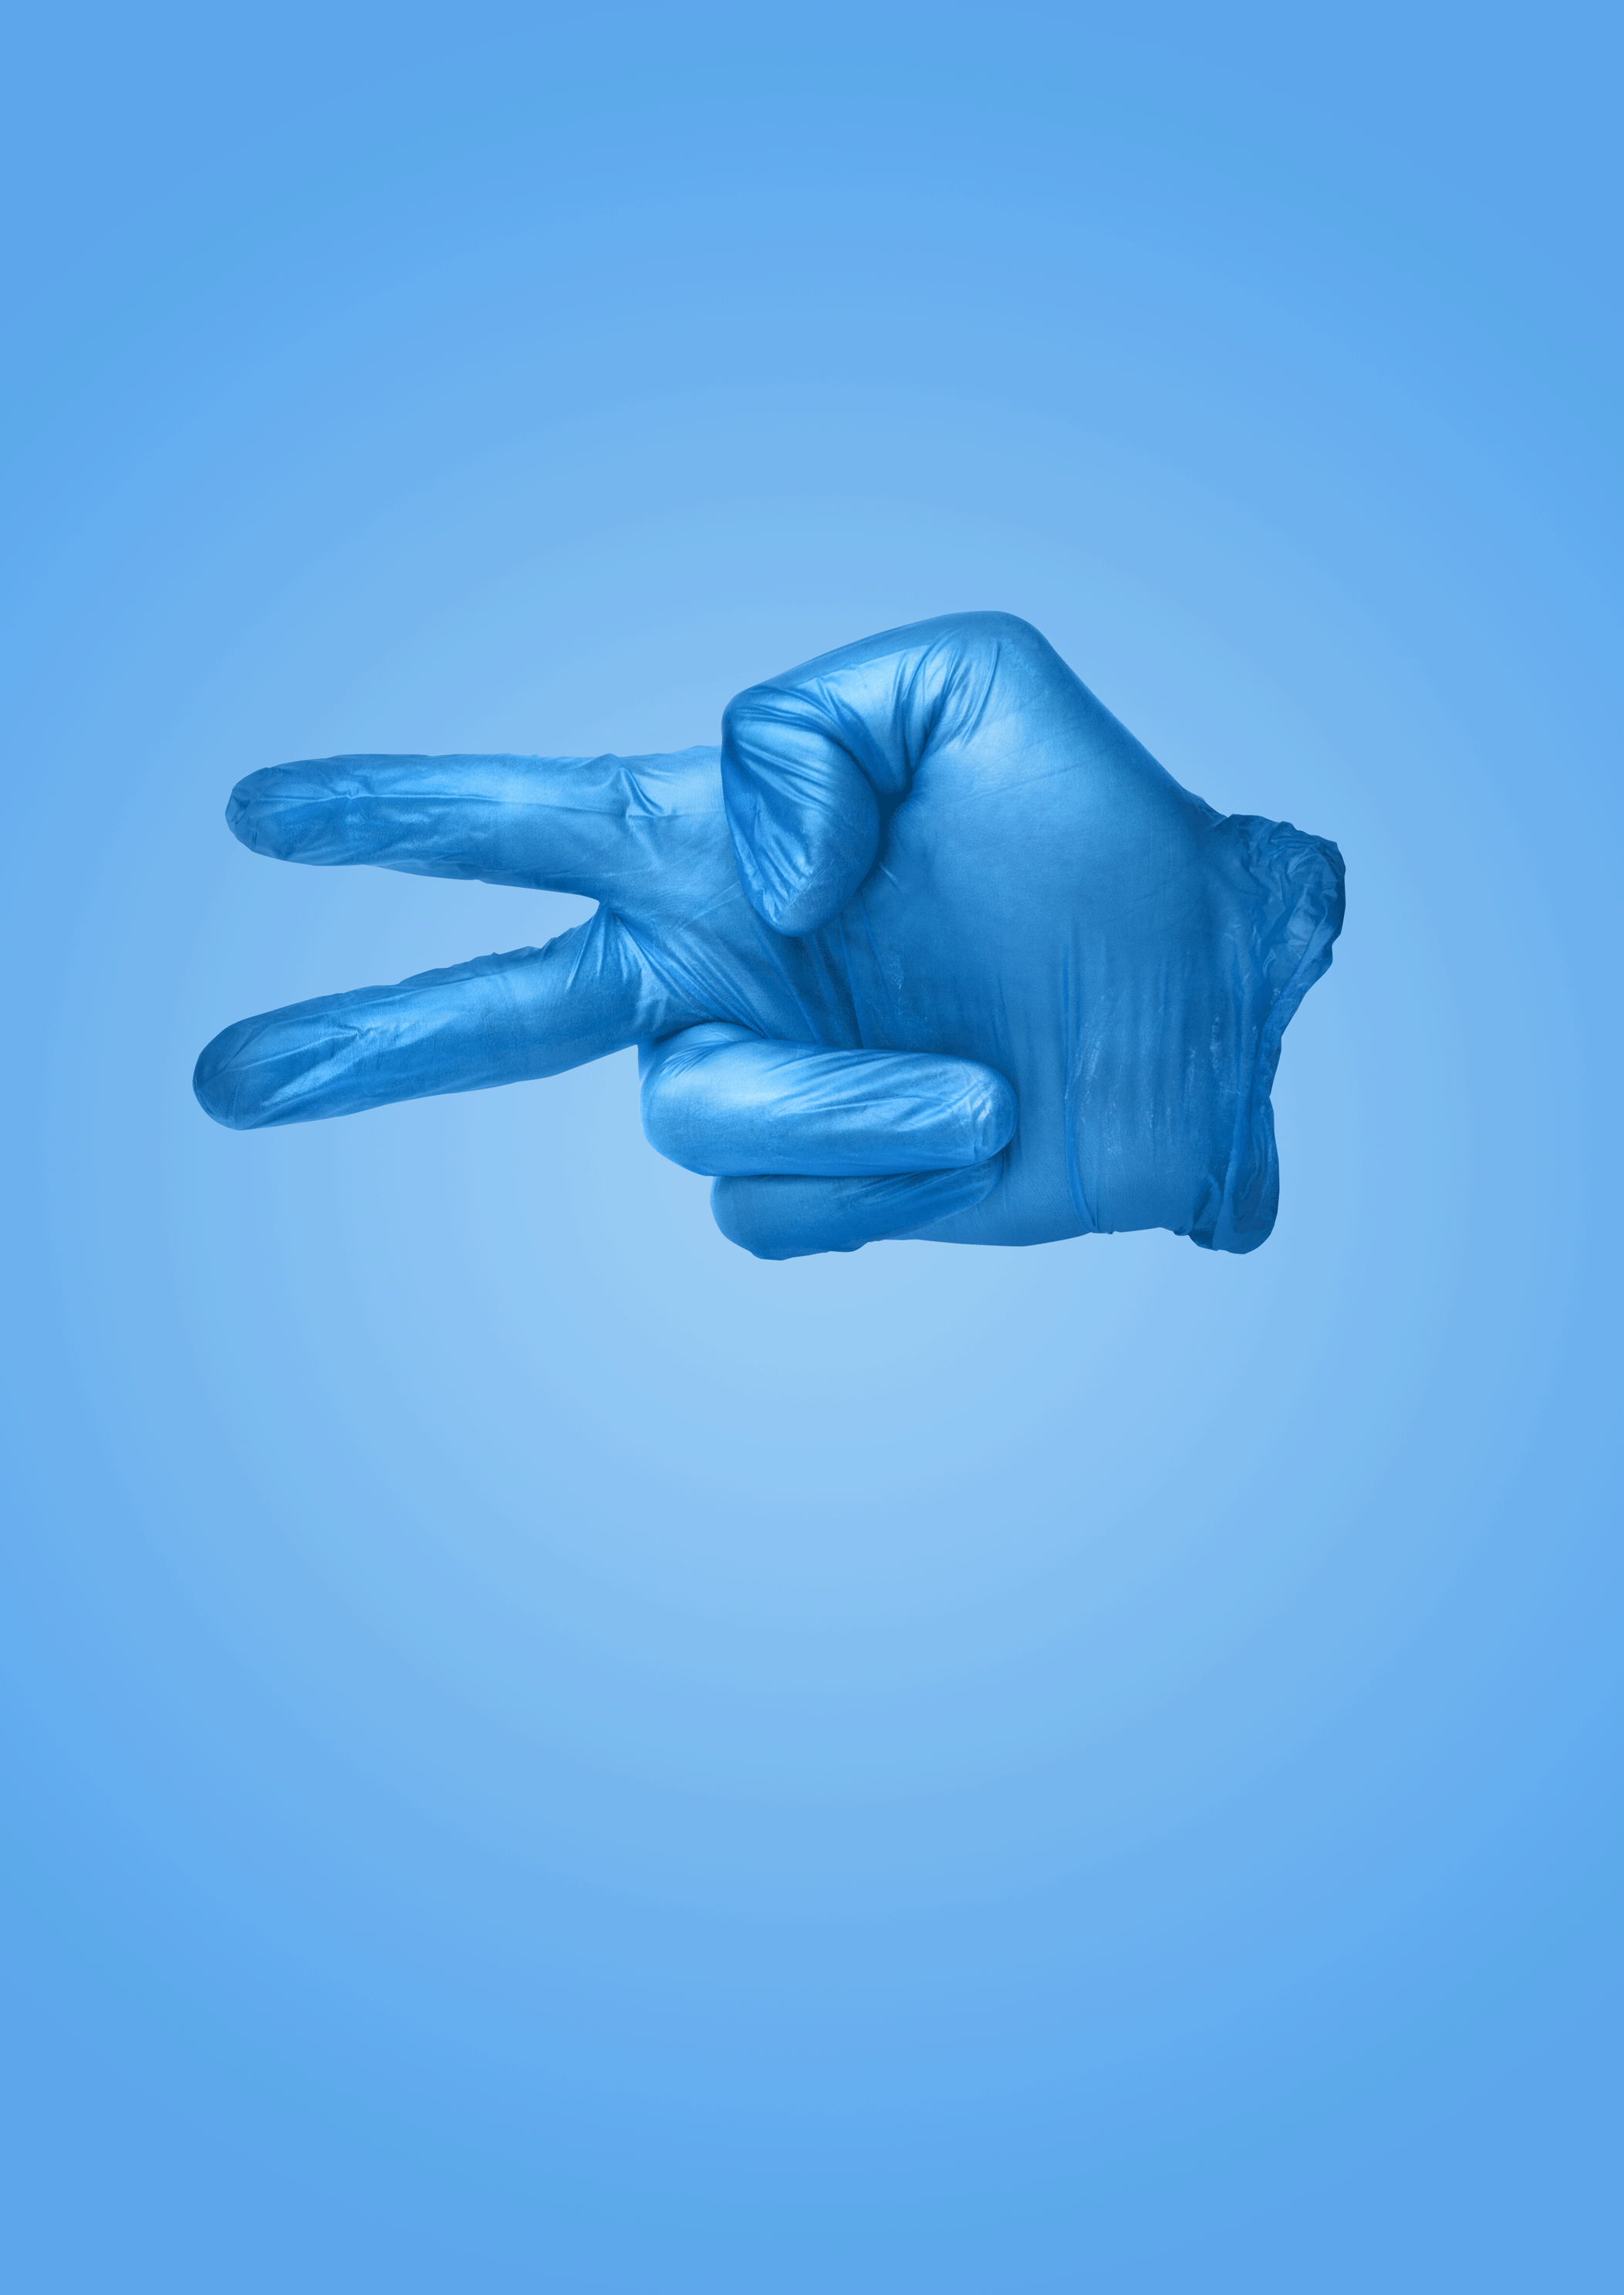
Cut out the hand from the background.

Step 7
Make a radial gradient, then add the hand on top. Increase the contrast, then add a shadow underneath to give a sense of depth.
Add the text and then you’re done.
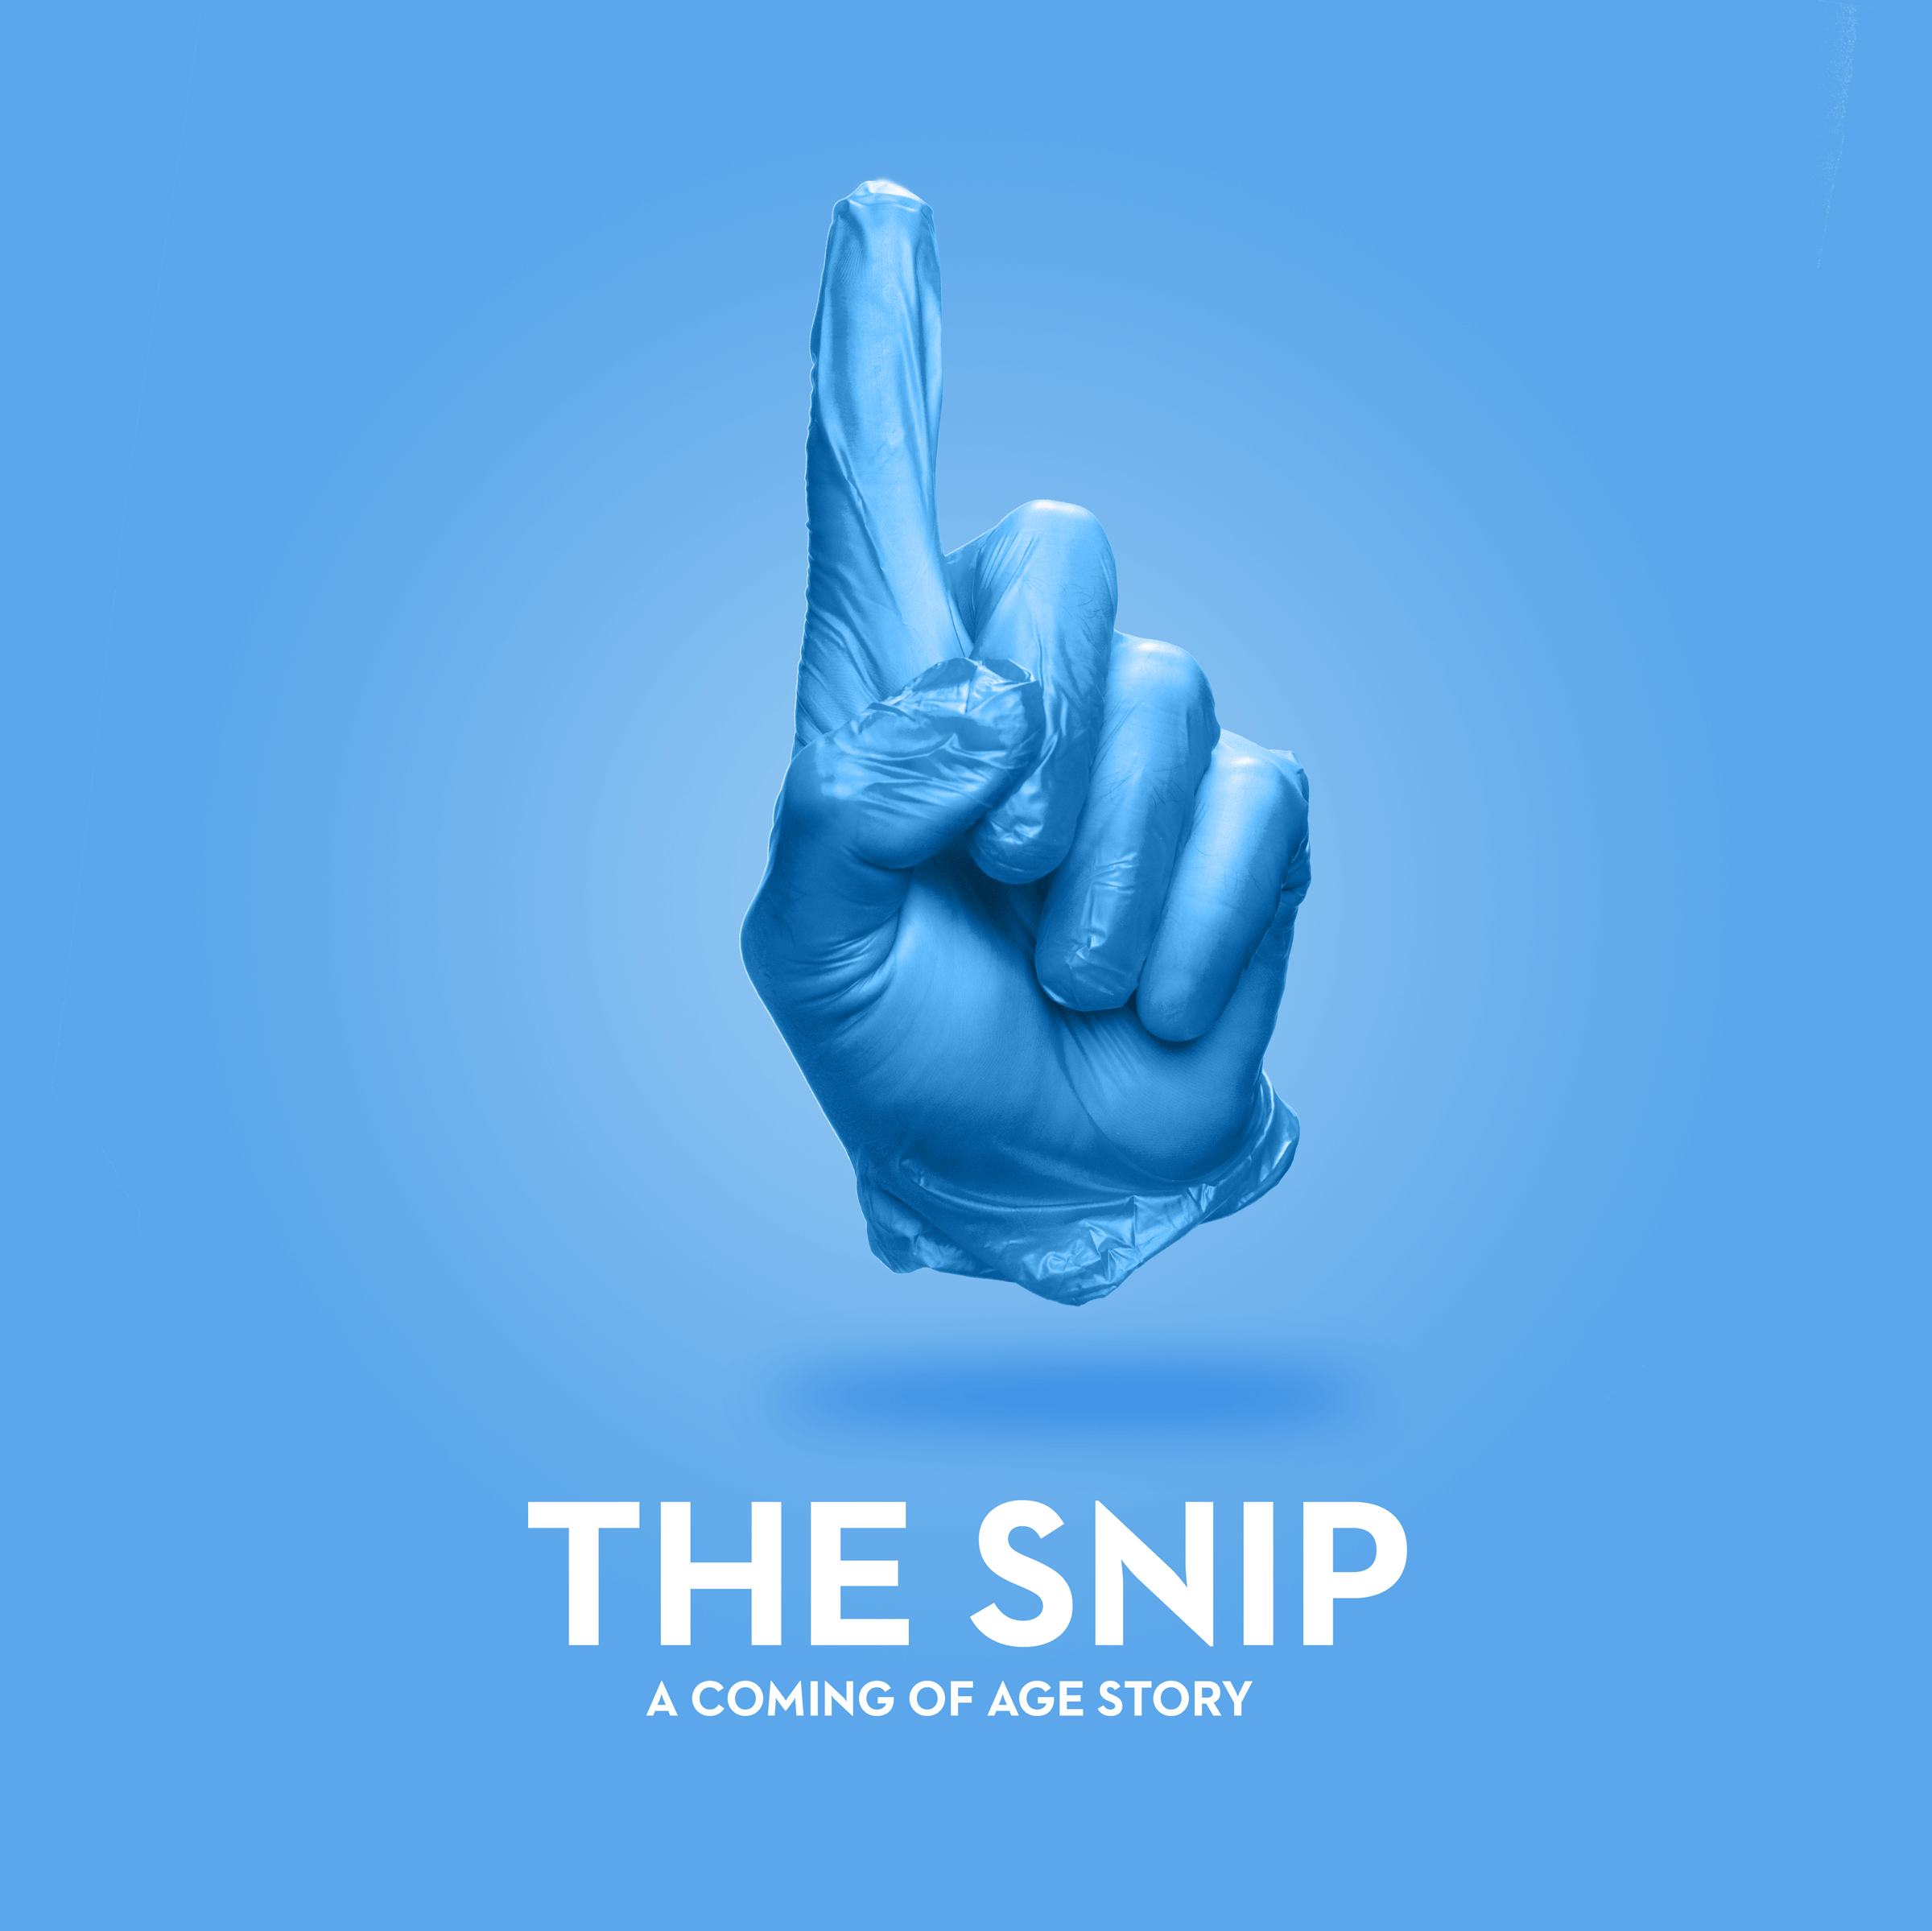
Finally, get carried away with the whole concept, start making motion gifs and knock out a bunch more variations on the theme.
It’s really great once you get a system in place, that you can really start knocking out a whole batch.
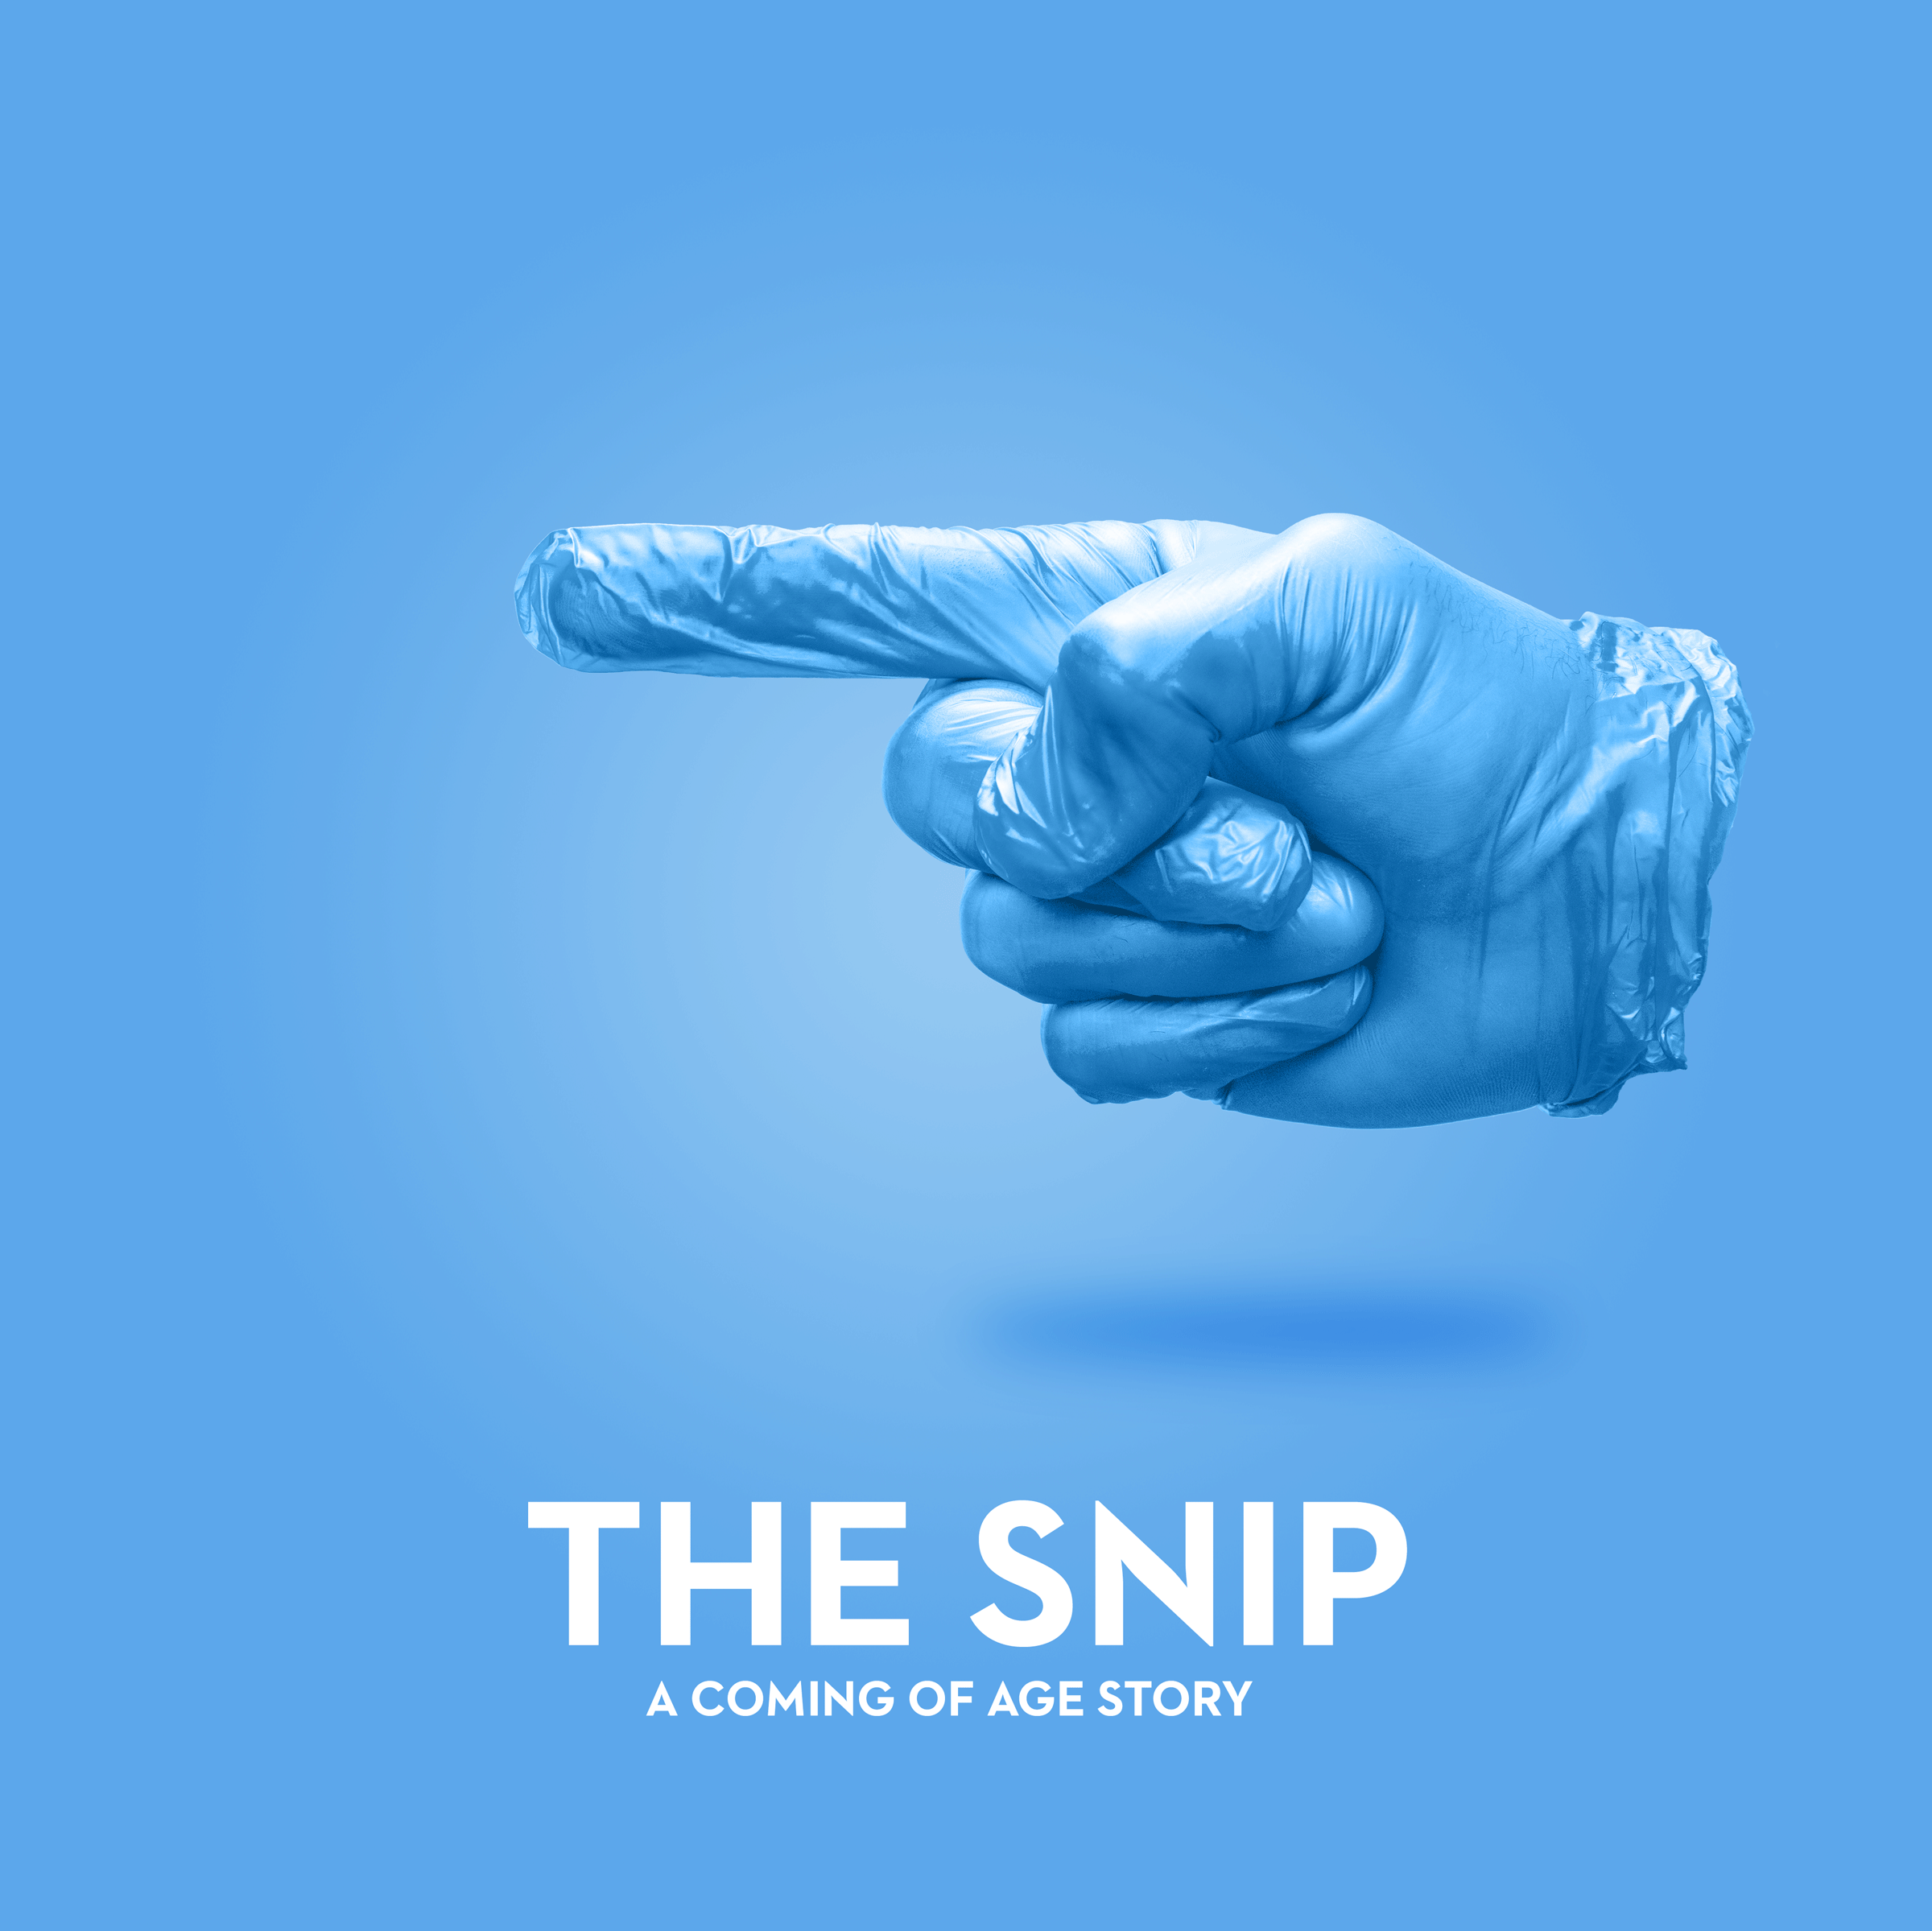
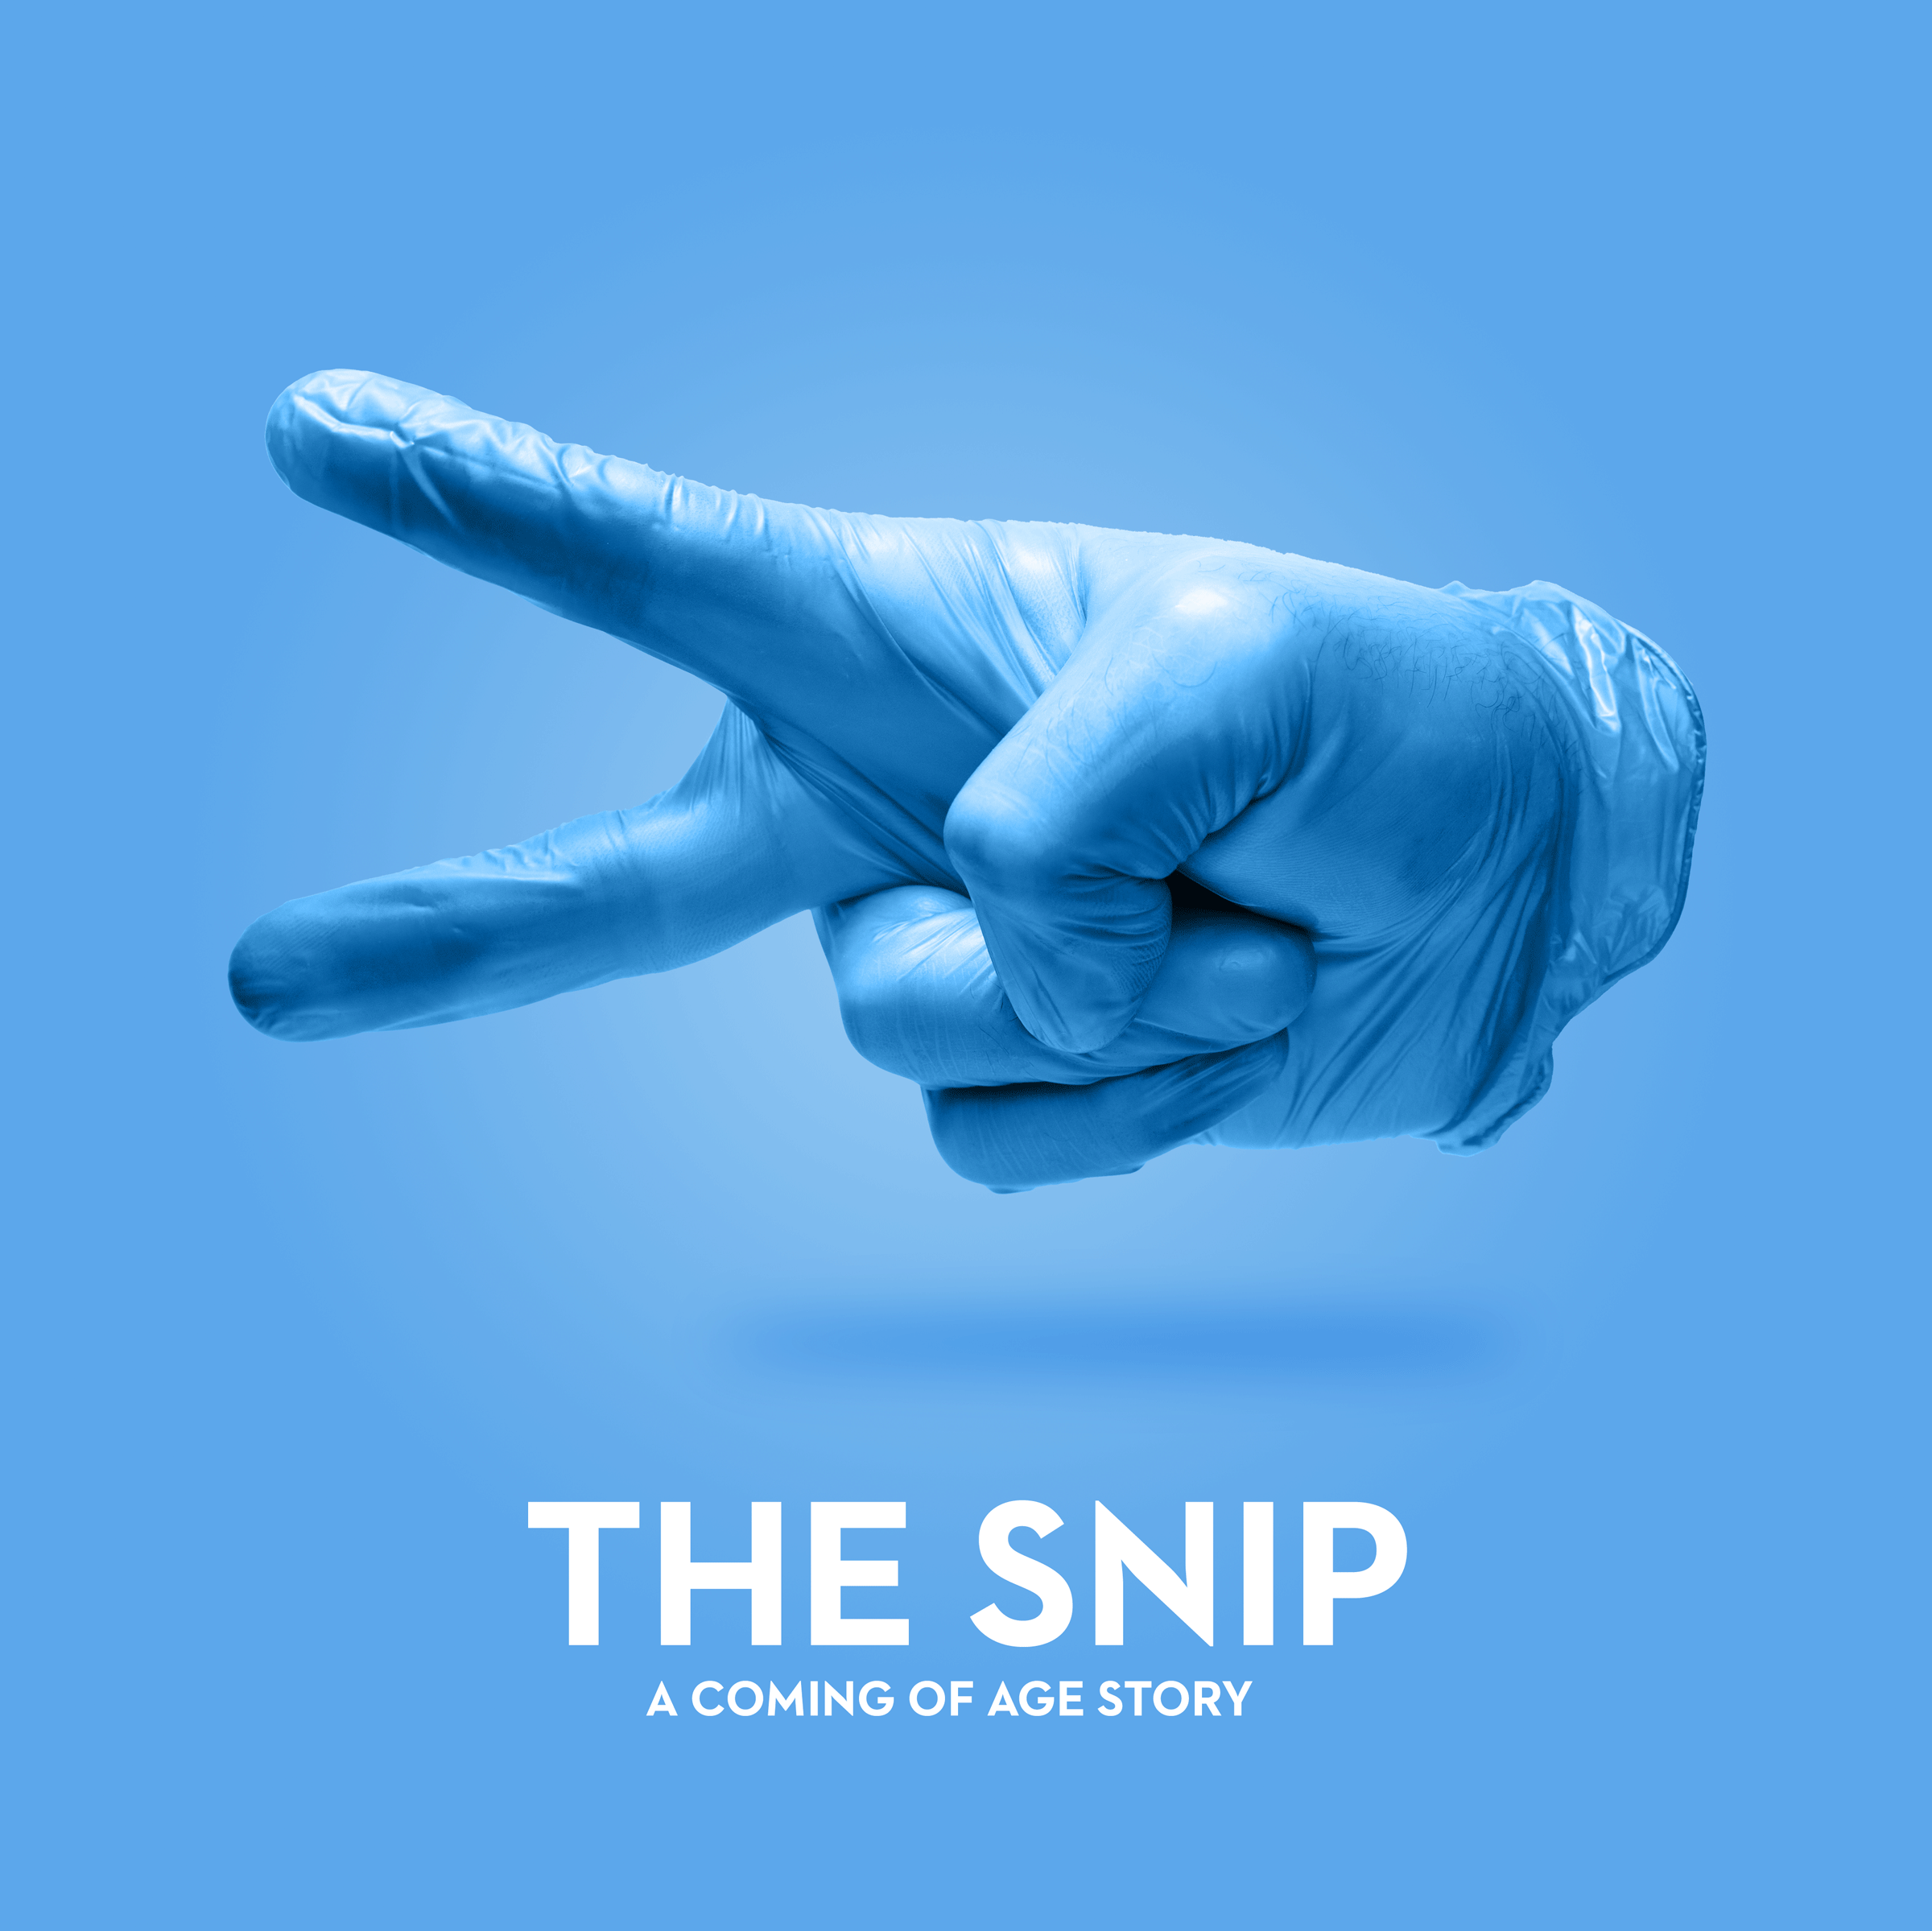
I was really surprised just how much the small shadow underneath the hand really made it pop and added a sense of dimensionality to the whole artwork.
Special thanks to Matt Alpass, who helped out with the original concepts for the designs, and to Seb Mrugalski who also helped out on the second shoot.

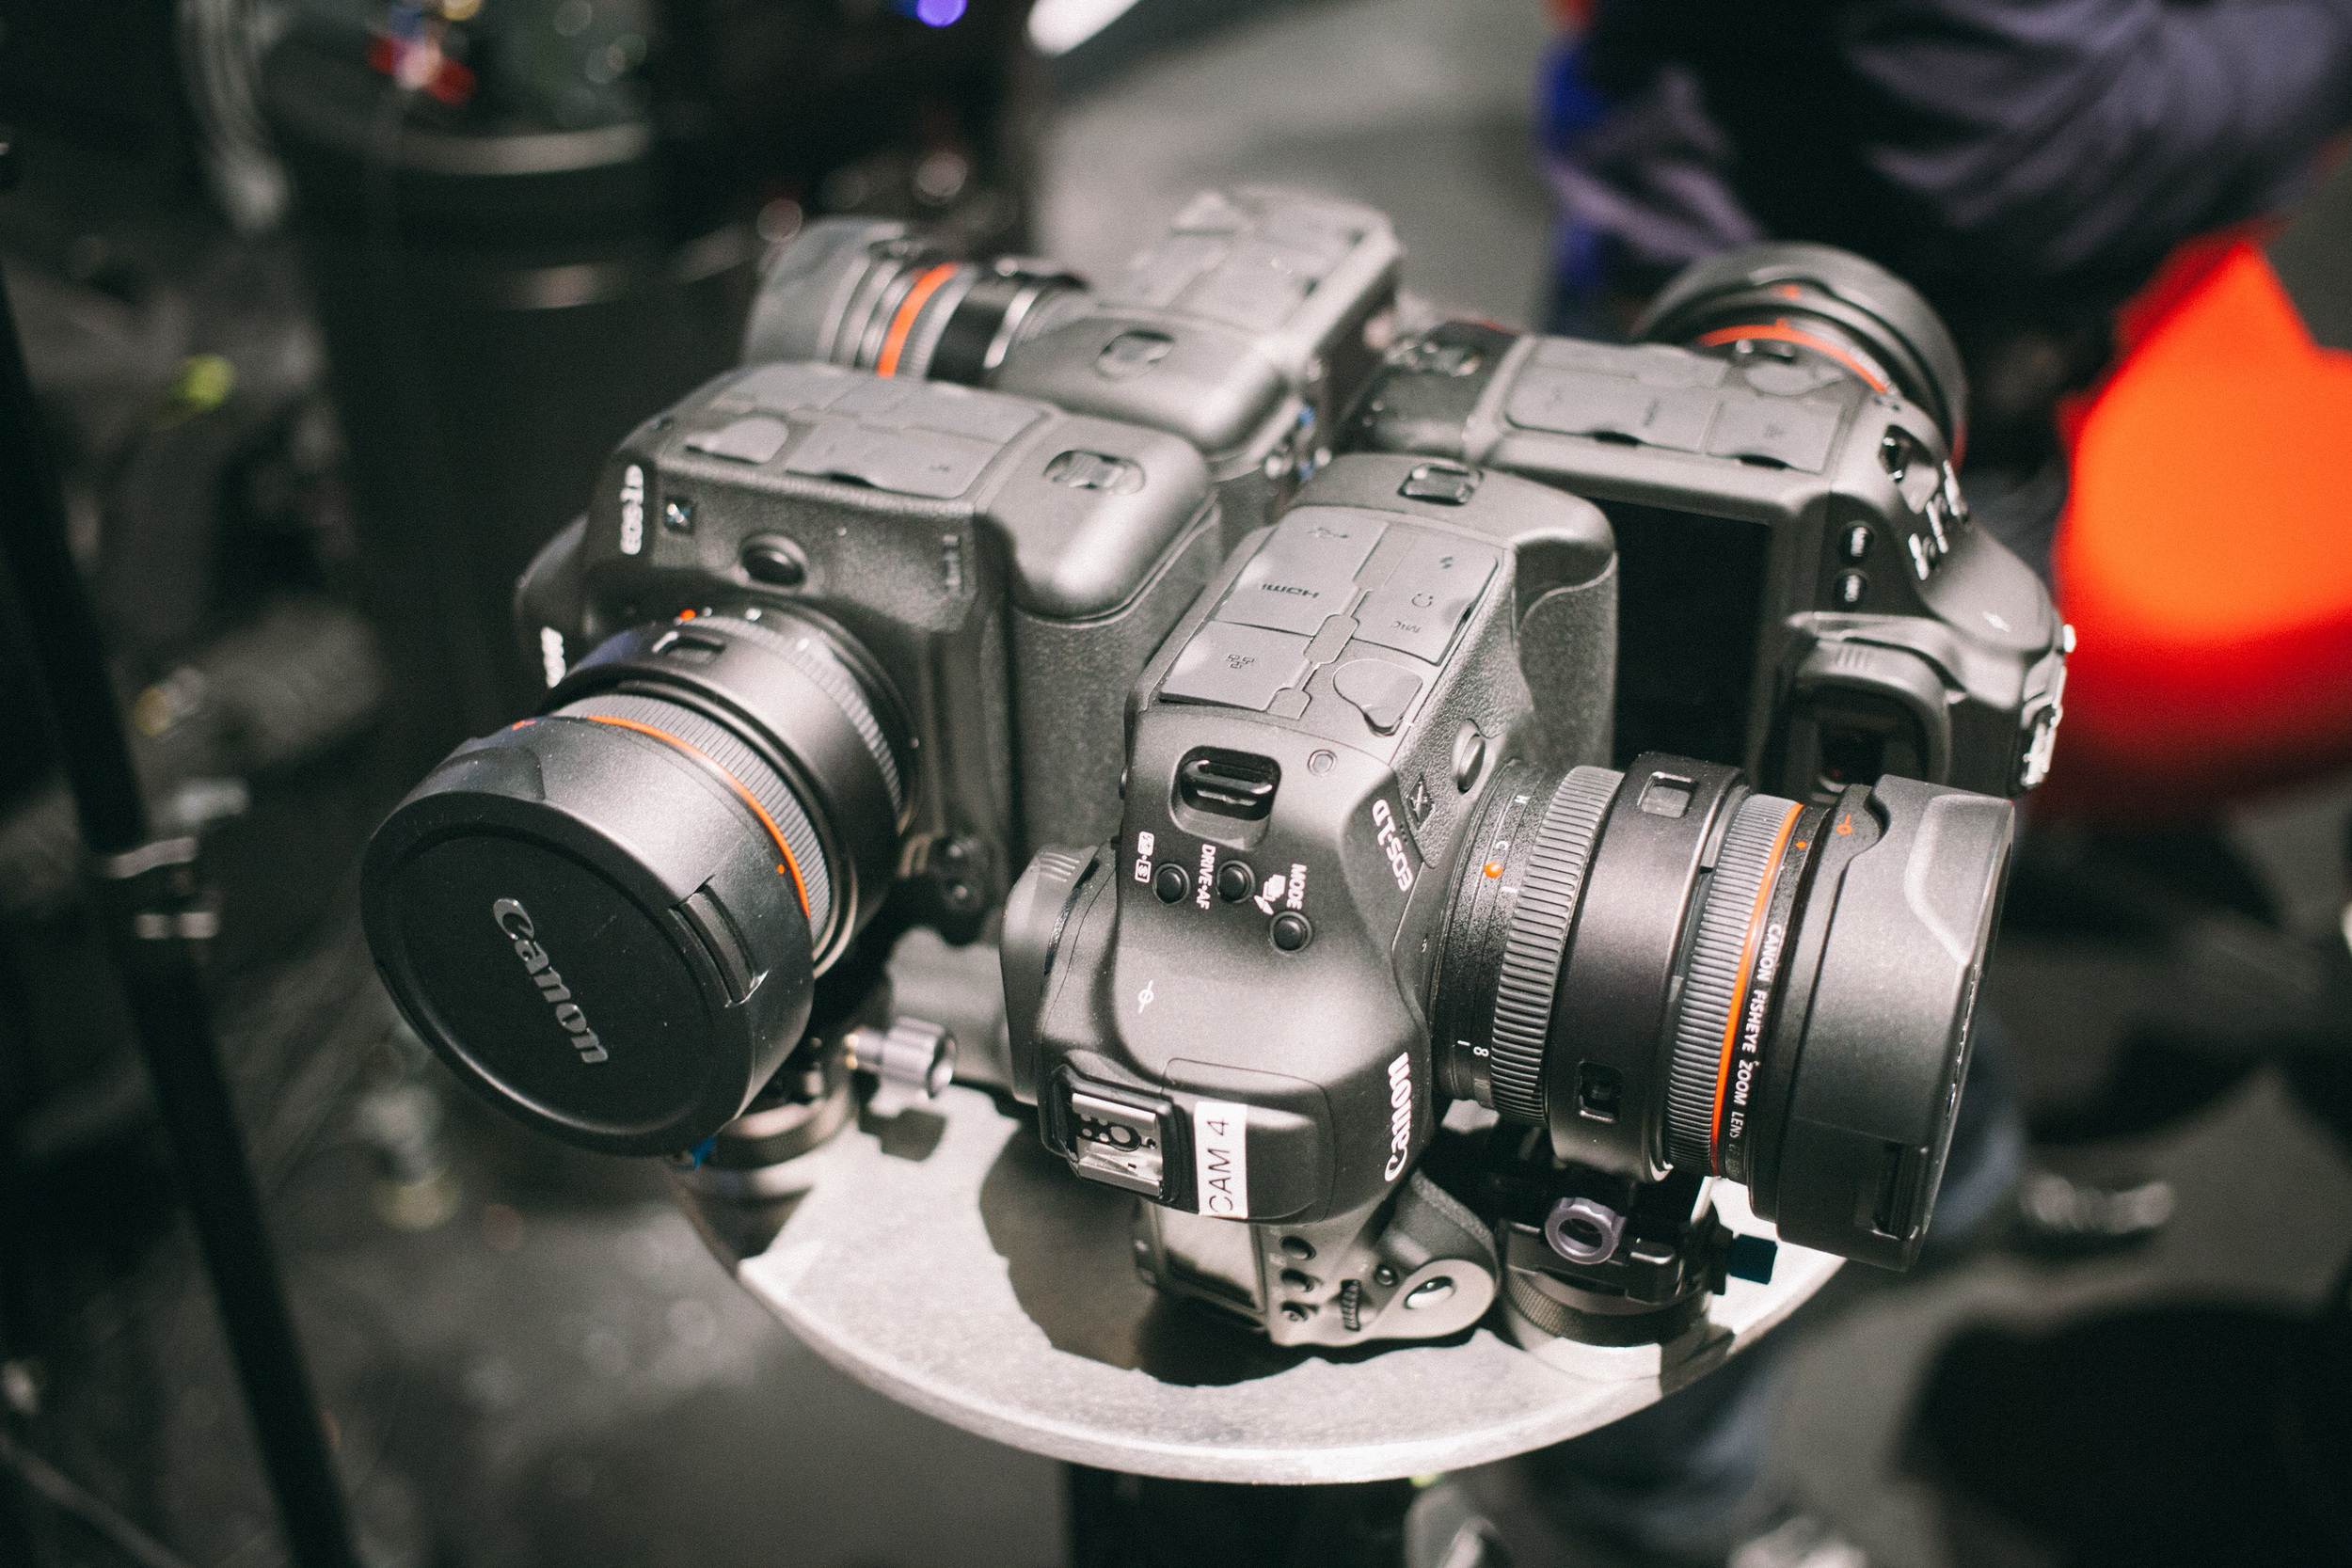
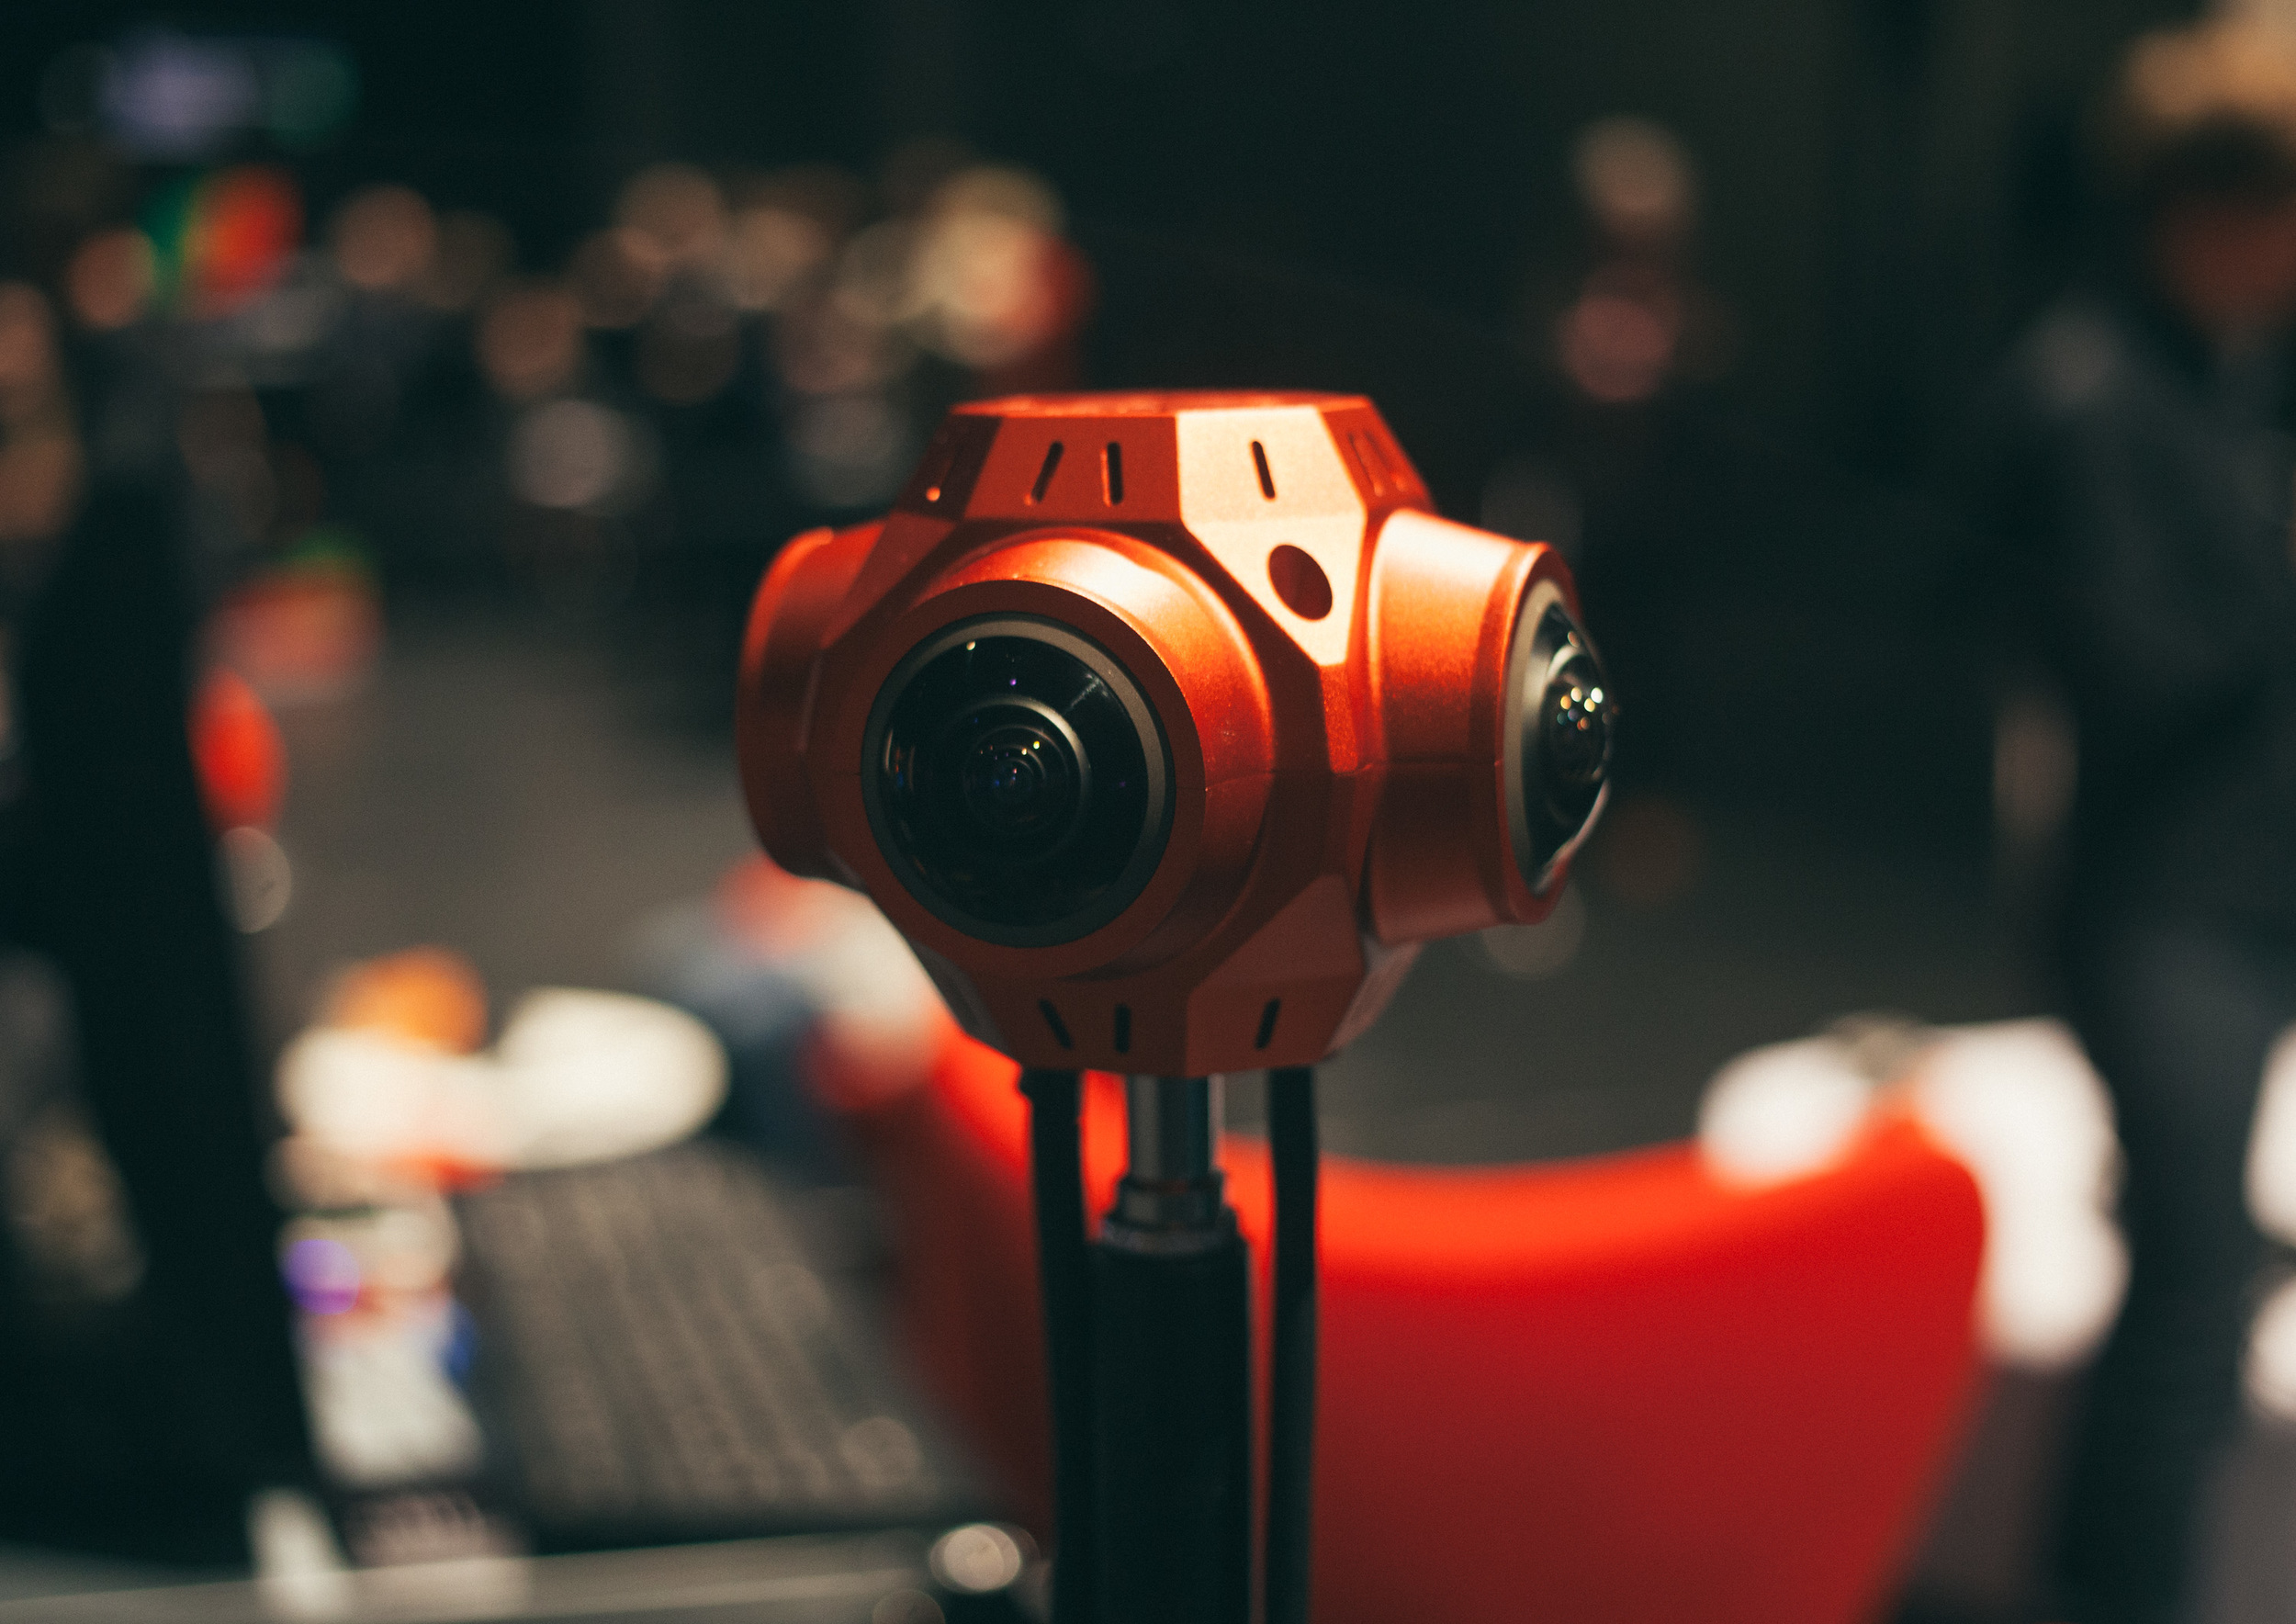
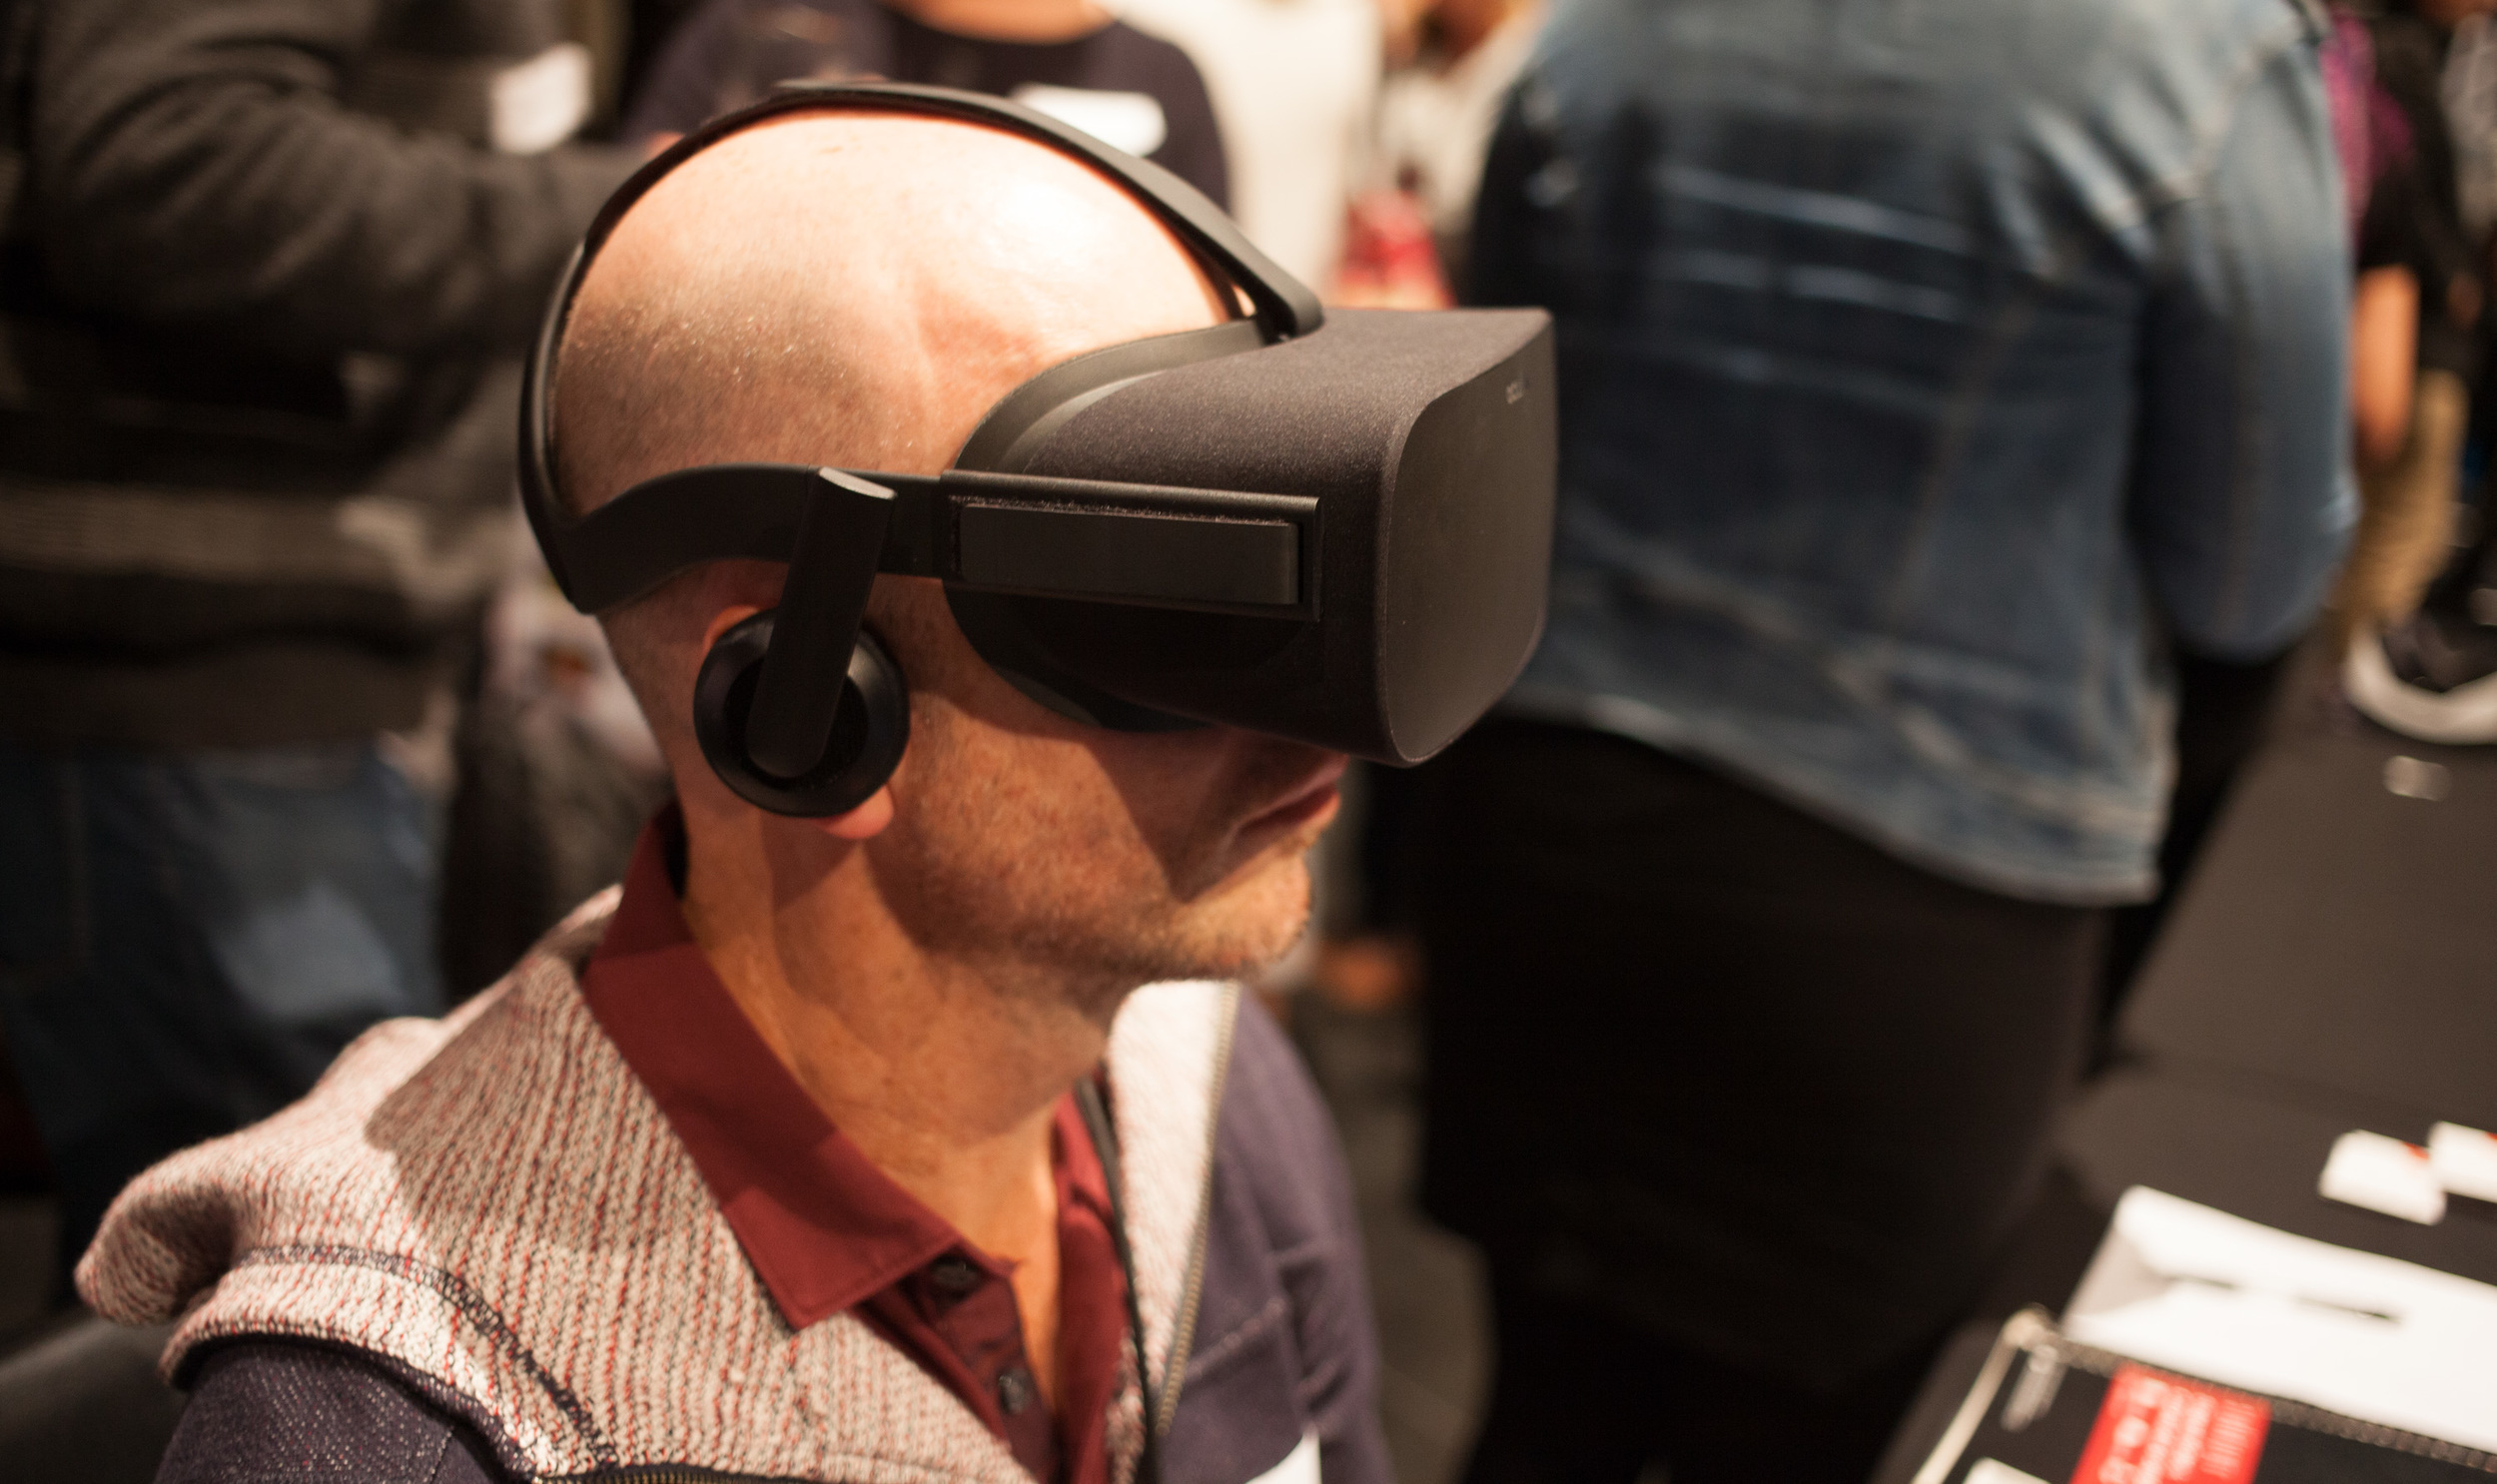
360, Virtual Reality and Aspect Ratios
What I’m particularly fascinated by, as this technology continues forward, is just how important, and common it will be for 270 degree video or such, where you’ll be able to see the field of view ahead of you, up and down, left and right, but that there’ll be a trend to really ignore looking behind you.
For my money, I think it’ll follow the aesthetic choices of aspect ratios in cinema now, where there are certain cinematic conventions that have an overall feel and convey tones.
That, and the fact that it quickly becomes tiring in a standard seat to have to look behind yourself all the time.
Not to mention the fact that there’s so much work involved in removing the operator from a scene.
270 degrees would change all that.


Beach at Dawn

Despite it ending up with Elise slipping on the moss, banging her head, and when I went to help her, took a big chunk off my big toe, we still managed to have a lovely time at the beach this morning.
I'm really loving the dynamic range that my C100 MkII captures too.
I want to get out and use it a lot more.

Multicam Editing in Premiere
Since getting a lot of responses to my latest post on using sequences to edit in Premiere, I thought it might be helpful to highlight just how easy it is to edit using the Multicam feature.
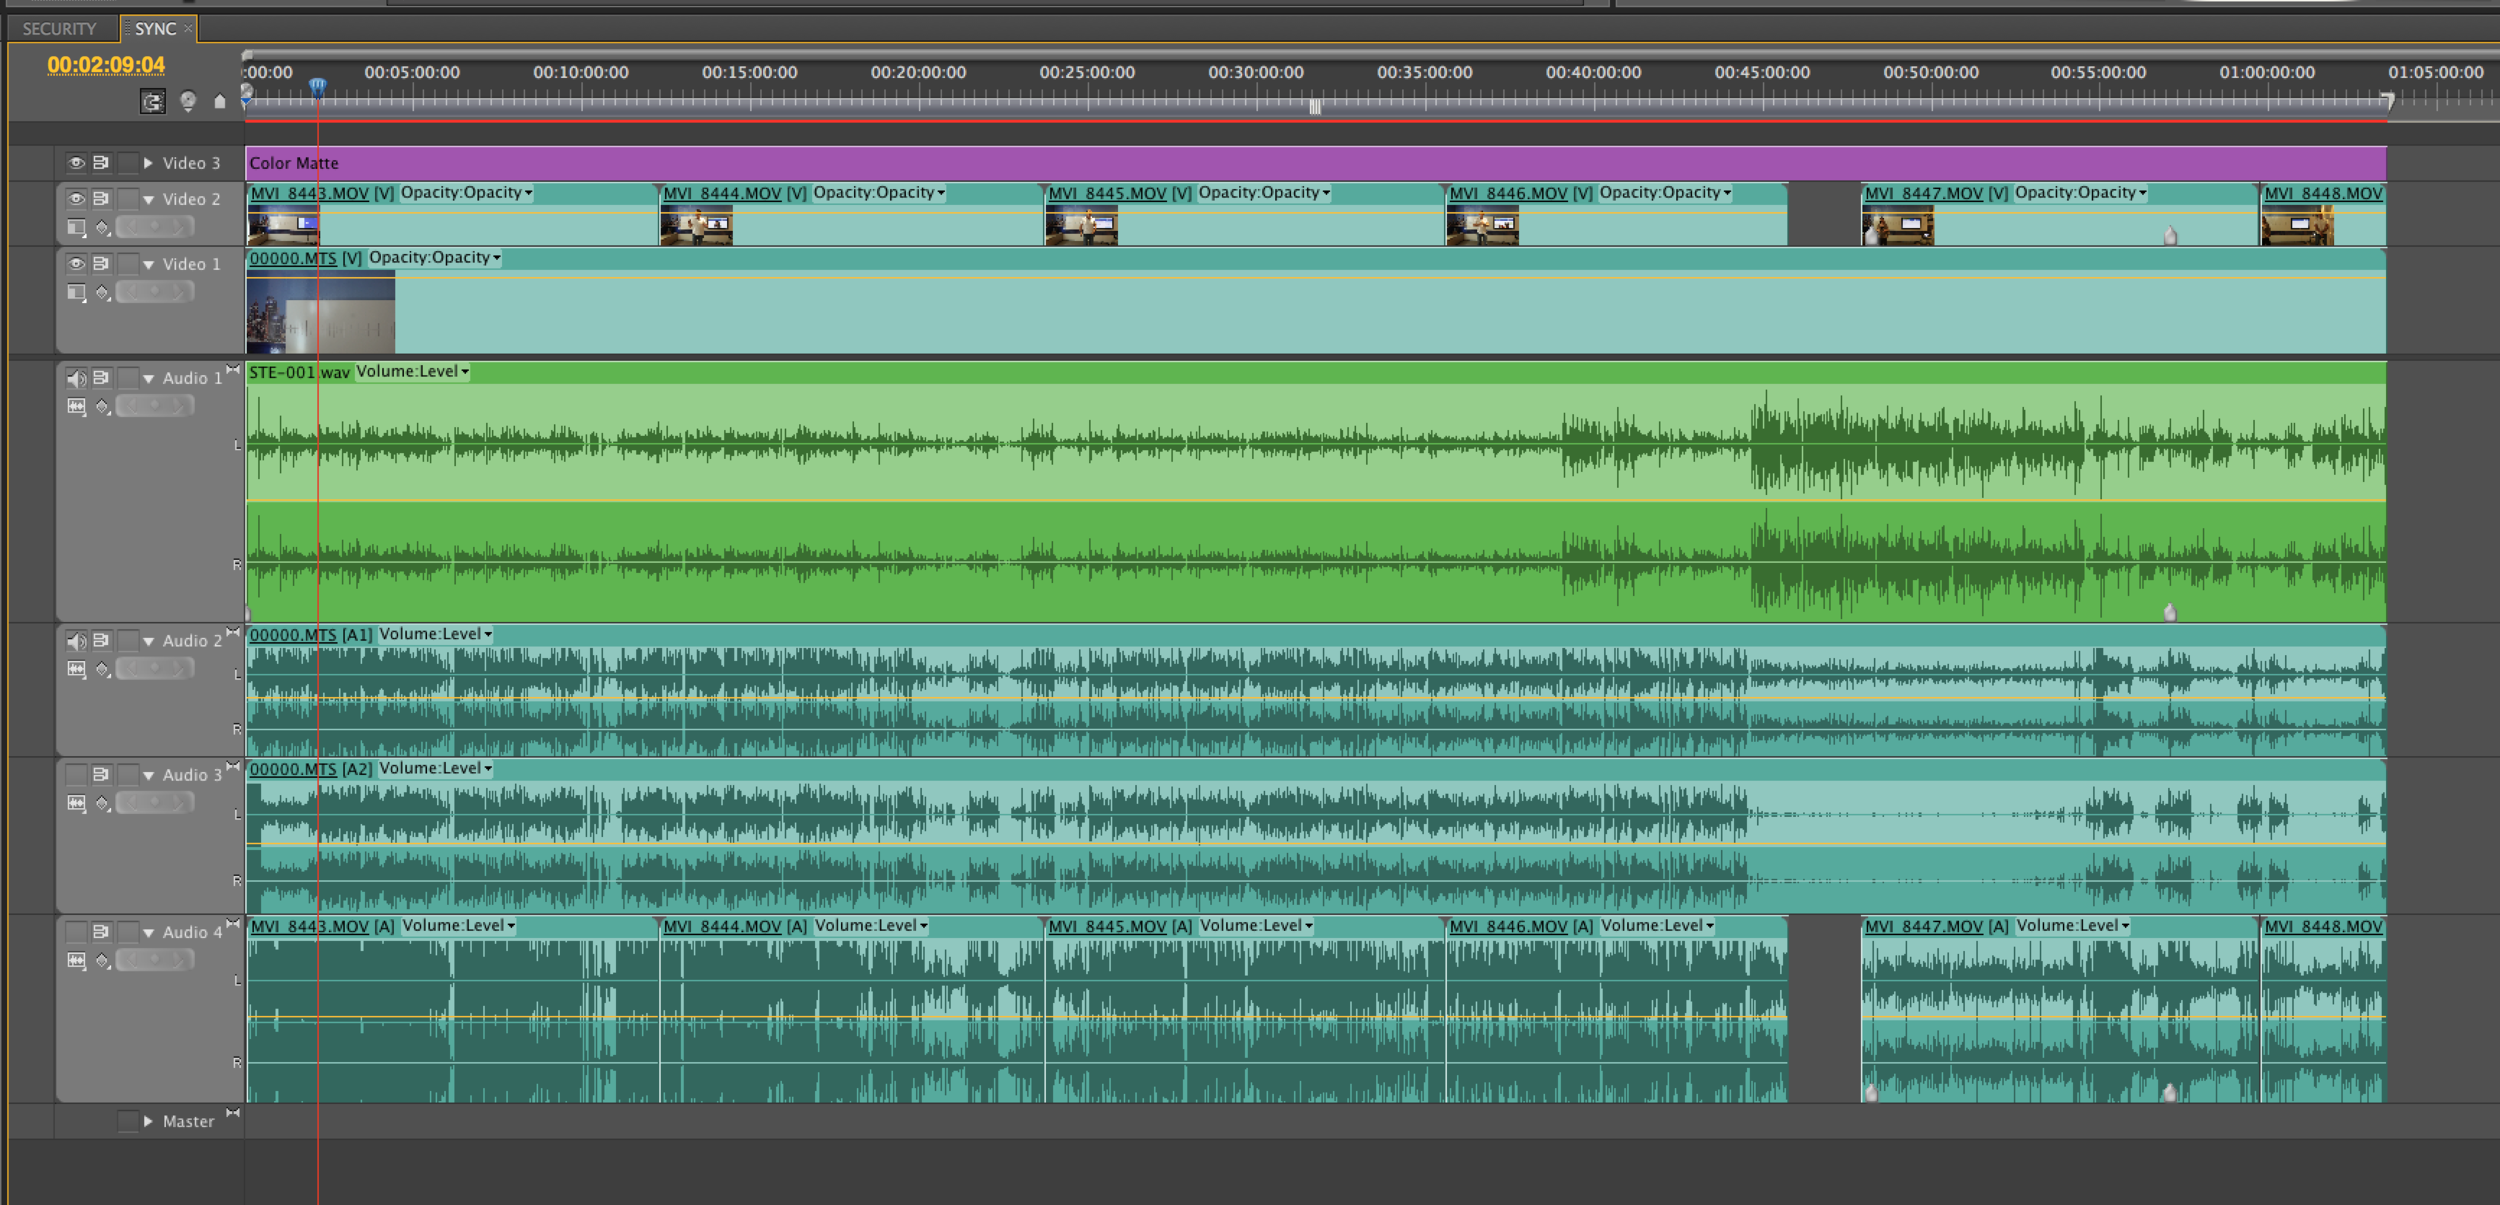
Firstly, you have to sync up all of your footage onto separate tracks - each of which will be their own ‘camera’. We’ll call this track SYNC.

Here the EDIT timeline is named Sequence 03
Once you’ve aligned all your footage (and there are tools in newer versions of NLEs that can sync this up automatically), make a new sequence - EDIT - then drop and drag SYNC into this timeline.

You then enable MultiCam on the SYNC track.

And open the Multi-Cam Monitor, which presents each ‘camera’ as a separate square.
Now for the easy bit.

Record is the little red dot.
Hit record on the Multi-Cam Monitor and just start playing the timeline, and when you want to change cameras, either click or press the number that corresponds with the clip.

Once you’ve done this, you just have to watch the timeline through once and cut it essentially live.

Also, if you make a mistake, you can right-click any clip and adjust the camera to another one.

In these demo projects, I had some slides that I wanted to edit in, but the client had delayed in posting them through, so I made a red track that I cut to whenever I expected to cut into a slide. That enabled me to use the red clips as a guide and align the slides on the EDIT sequence.
Then you’re basically done.

Nested Sequences in Premiere (and other NLEs)
I’ve been speaking with and watching a lot of editors work lately and have been surprised by the general lack of awareness of using nested sequences in their Non Linear Editors (NLEs).
At its core, this technique works in a very similar way to pre-comps in After Effects.
The biggest advantage of using nested sequences is that any adjustments you make up the chain push through the rest of the editing pipeline.
I found myself challenged a lot of the time in a bunch of the corporate work that I do where I’d produce several interviews with the same talent across a number of different videos - though when I tried to use Dynamic Link - to grade or edit audio - on a per clip basis, it was near on impossible.
(By the way, I’m still using both Premiere CS5.5 and DLSRs for my productions, because they still work the way I want them to and at $600/year, I think Creative Cloud is still overpriced.)
Typically my workflow will be as follows.

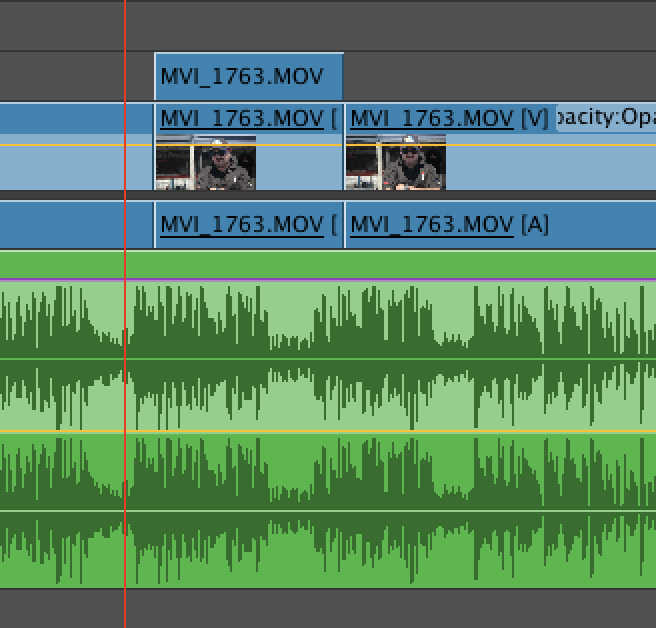
This sequence is Badass 01
On the first sequence, I’ll sync the camera scratch audio with the externally recorded track and line them up. Usually if there’s any overhangs, I’ll tighten that up here too.
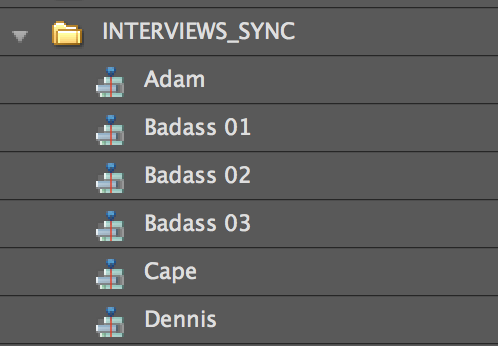
Then I’ll add this to a folder called SYNC.

Drag the sequence over to this New Item panel

The next step is to bring that sequence into another sequence and in this one, I’ll go through and mark up the nested sequence into its various components. Generally I’ll leave any questions as a grey colour, and the answers I intend to use, I’ll label as blue.
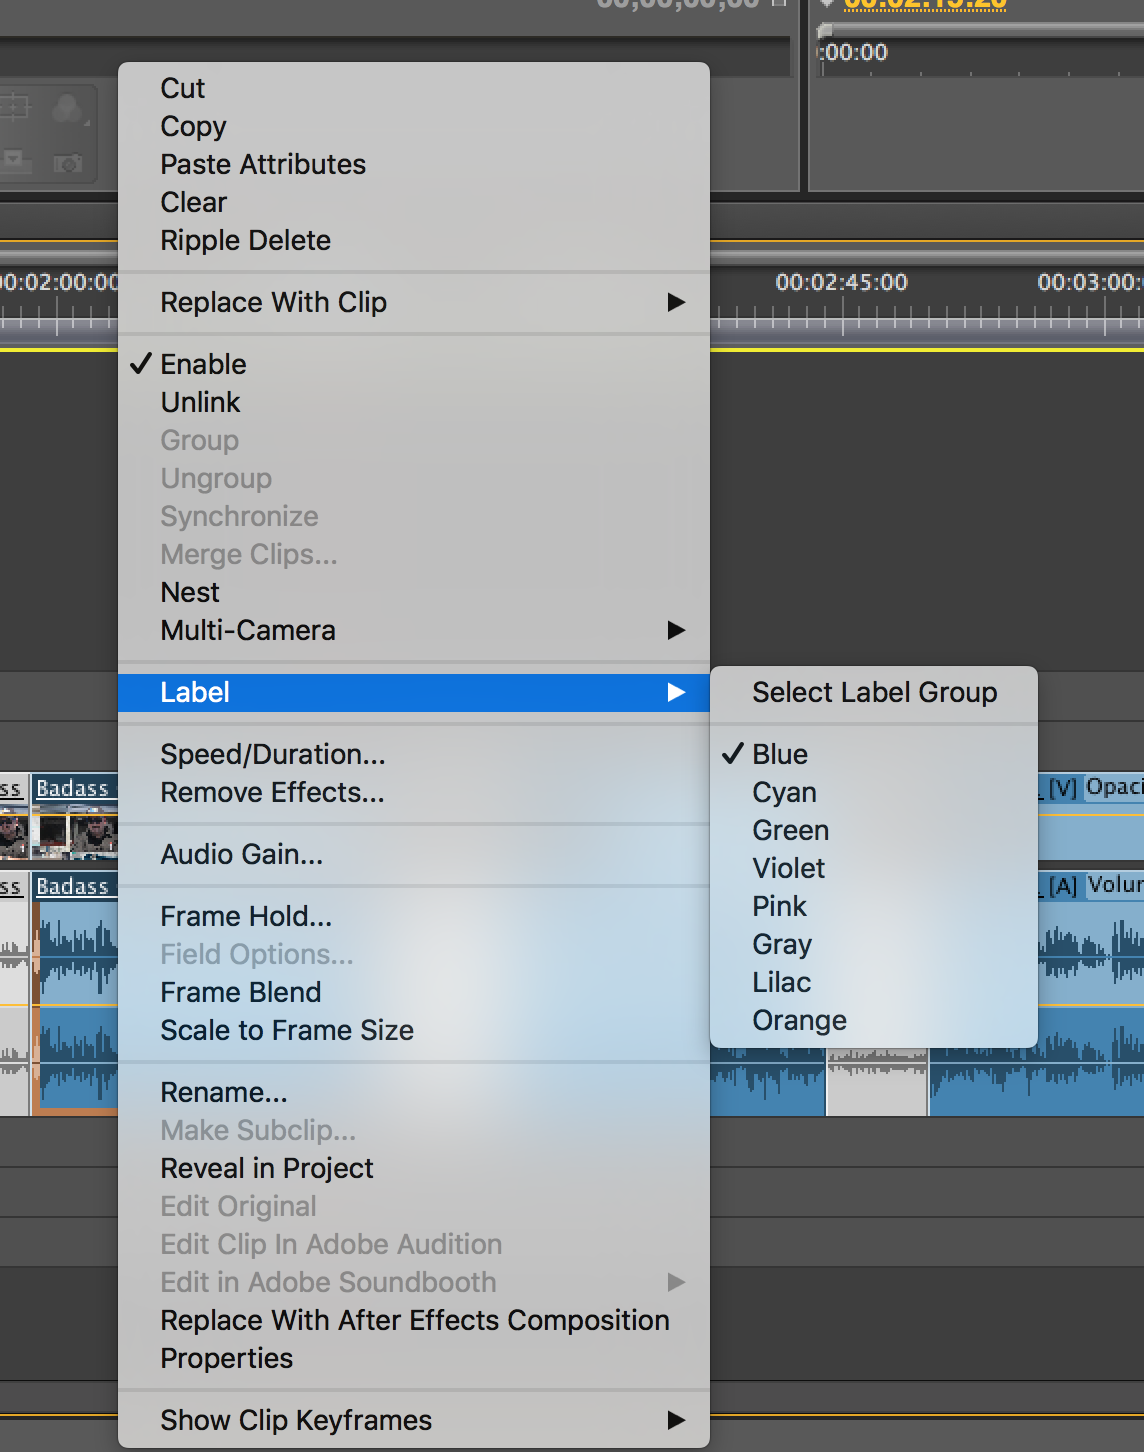
Also something that I didn’t know immediately, but if you right click on a coloured clip and Select Label Group, you can quickly select all those matching clips. If you wanted to close the gaps between them though, you actually need to select the grey clips and hit Shift-Delete to get rid of them.

You can also see that Intro and Outro are also nested sequences - which stay constant across a number of projects.
Next, I’ll start editing on a timeline with these sequences as clips and from here on out it’s largely a standard editing workflow.
However, here’s where the big advantage of this workflow presents itself.
In one of my interviews, I’ve noticed that there’s a little rub on the lapel mic, and so I want to repair that audio. (you could also want to run an audio compressor on the track in Audition, or colour grade, reposition -- whatever.)
Now traditionally, I’d have right clicked and used Dynamic Link to just correct that clip’s audio, but if I’d have used the same grab in multiple sequences, I’d have to do this for every one.
Though all I need to do now is go all the way back to the first sync track and edit that clip in Audition. Once I do the necessary tweaks - and again you could even duplicate this track so that you are non-destructive on the initial clip - you then hit save, it automatically feeds back into your edit and you’ve effectively changed all the uses of this clip in the whole project.
If there’s one problem with this workflow, it’d be in the grading section, where you’d probably have to render an entire clip to keep it all in sync, but using this approach you’re not beholden to any particular approach. You could duplicate, trim and add one level up and the beauty of this is that you’d still have everything else down the chain working perfectly.
Largely, this approach is also similar to multi-cam editing, which is what put me down this line of questioning in the first place. If you don’t know how to edit multi-cam in Premiere, I’d highly recommend looking it up - it’s quite similar to this approach.
Hopefully that all makes sense.
If you got any value out of this please let me know as I'd be keen to write more articles like this if there's interest.