I’ve been speaking with and watching a lot of editors work lately and have been surprised by the general lack of awareness of using nested sequences in their Non Linear Editors (NLEs).
At its core, this technique works in a very similar way to pre-comps in After Effects.
The biggest advantage of using nested sequences is that any adjustments you make up the chain push through the rest of the editing pipeline.
I found myself challenged a lot of the time in a bunch of the corporate work that I do where I’d produce several interviews with the same talent across a number of different videos - though when I tried to use Dynamic Link - to grade or edit audio - on a per clip basis, it was near on impossible.
(By the way, I’m still using both Premiere CS5.5 and DLSRs for my productions, because they still work the way I want them to and at $600/year, I think Creative Cloud is still overpriced.)
Typically my workflow will be as follows.
This sequence is Badass 01
On the first sequence, I’ll sync the camera scratch audio with the externally recorded track and line them up. Usually if there’s any overhangs, I’ll tighten that up here too.
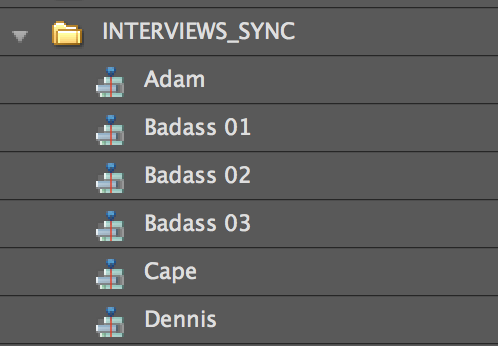
Then I’ll add this to a folder called SYNC.
Drag the sequence over to this New Item panel
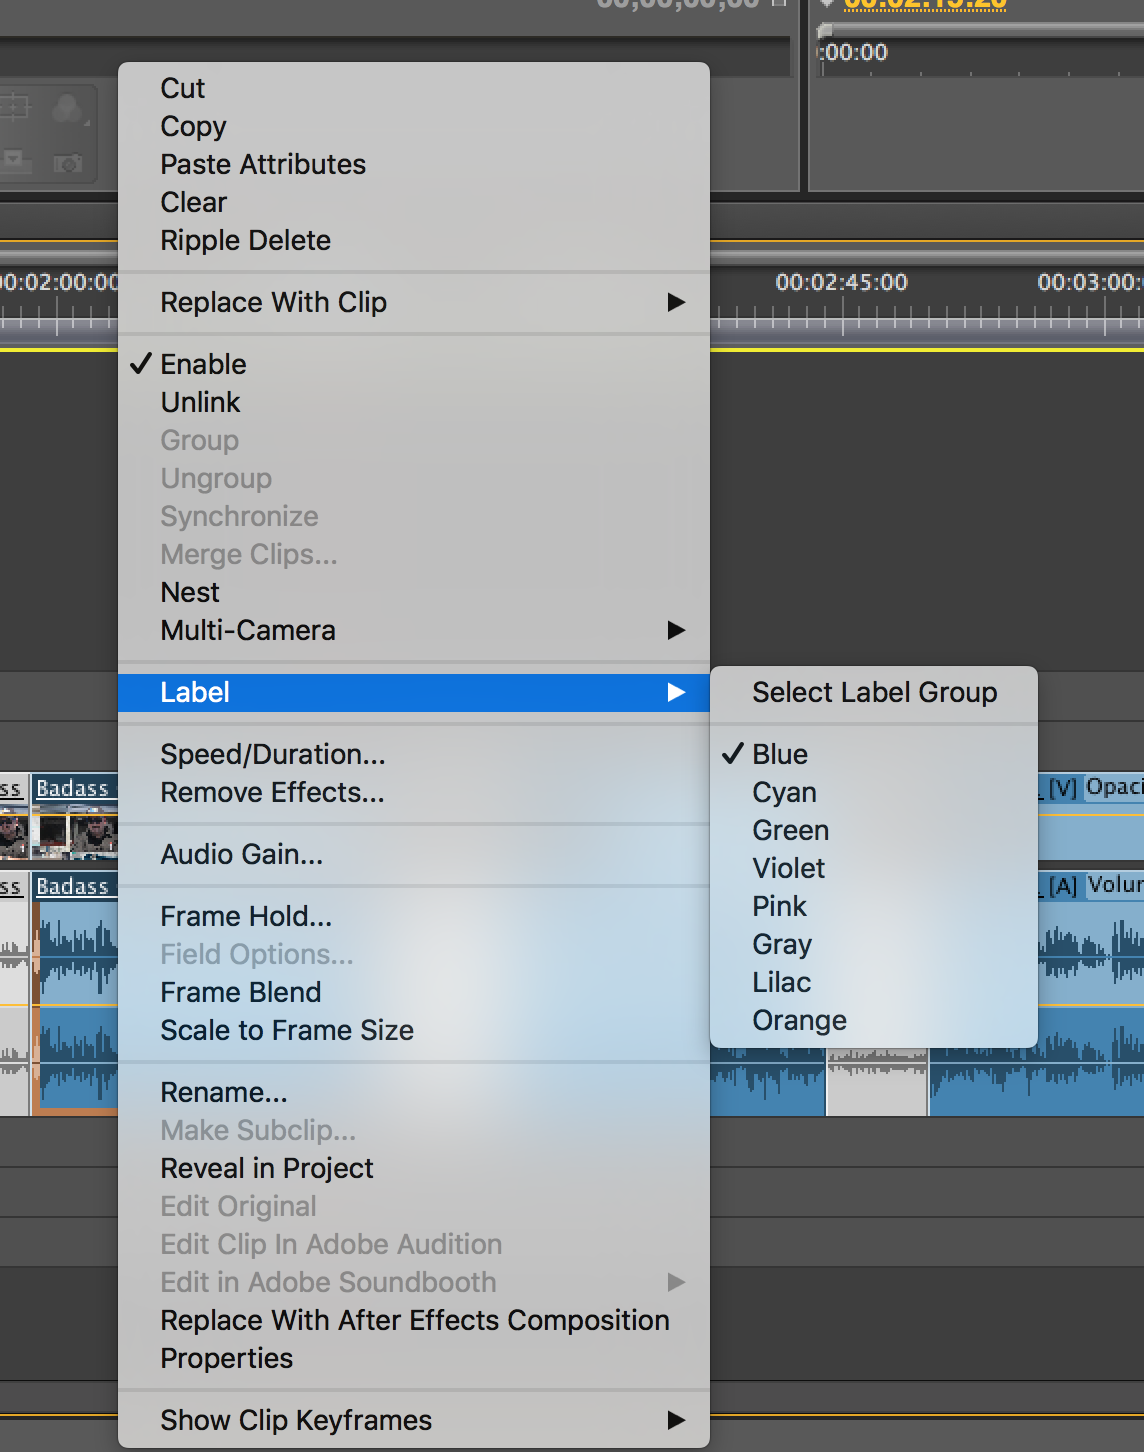
The next step is to bring that sequence into another sequence and in this one, I’ll go through and mark up the nested sequence into its various components. Generally I’ll leave any questions as a grey colour, and the answers I intend to use, I’ll label as blue.
Also something that I didn’t know immediately, but if you right click on a coloured clip and Select Label Group, you can quickly select all those matching clips. If you wanted to close the gaps between them though, you actually need to select the grey clips and hit Shift-Delete to get rid of them.
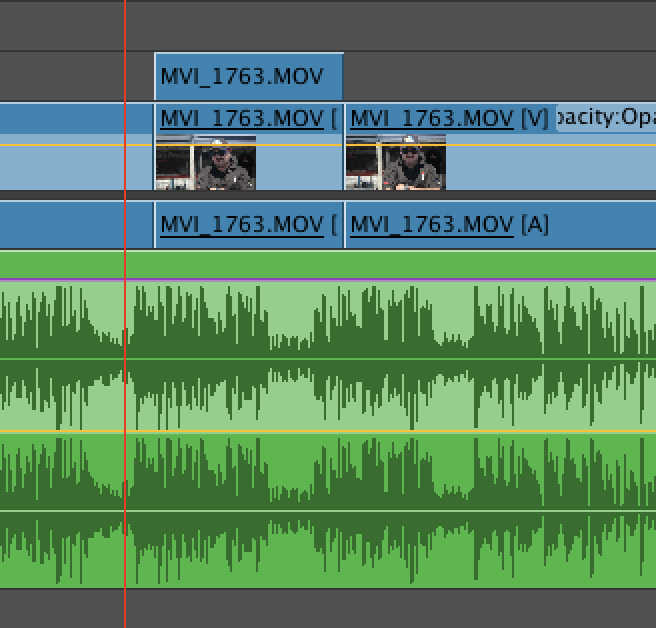
You can also see that Intro and Outro are also nested sequences - which stay constant across a number of projects.
Next, I’ll start editing on a timeline with these sequences as clips and from here on out it’s largely a standard editing workflow.
However, here’s where the big advantage of this workflow presents itself.
In one of my interviews, I’ve noticed that there’s a little rub on the lapel mic, and so I want to repair that audio. (you could also want to run an audio compressor on the track in Audition, or colour grade, reposition -- whatever.)
Now traditionally, I’d have right clicked and used Dynamic Link to just correct that clip’s audio, but if I’d have used the same grab in multiple sequences, I’d have to do this for every one.
Though all I need to do now is go all the way back to the first sync track and edit that clip in Audition. Once I do the necessary tweaks - and again you could even duplicate this track so that you are non-destructive on the initial clip - you then hit save, it automatically feeds back into your edit and you’ve effectively changed all the uses of this clip in the whole project.
If there’s one problem with this workflow, it’d be in the grading section, where you’d probably have to render an entire clip to keep it all in sync, but using this approach you’re not beholden to any particular approach. You could duplicate, trim and add one level up and the beauty of this is that you’d still have everything else down the chain working perfectly.
Largely, this approach is also similar to multi-cam editing, which is what put me down this line of questioning in the first place. If you don’t know how to edit multi-cam in Premiere, I’d highly recommend looking it up - it’s quite similar to this approach.
Hopefully that all makes sense.
If you got any value out of this please let me know as I'd be keen to write more articles like this if there's interest.


