
Multicam Editing in Premiere
Since getting a lot of responses to my latest post on using sequences to edit in Premiere, I thought it might be helpful to highlight just how easy it is to edit using the Multicam feature.
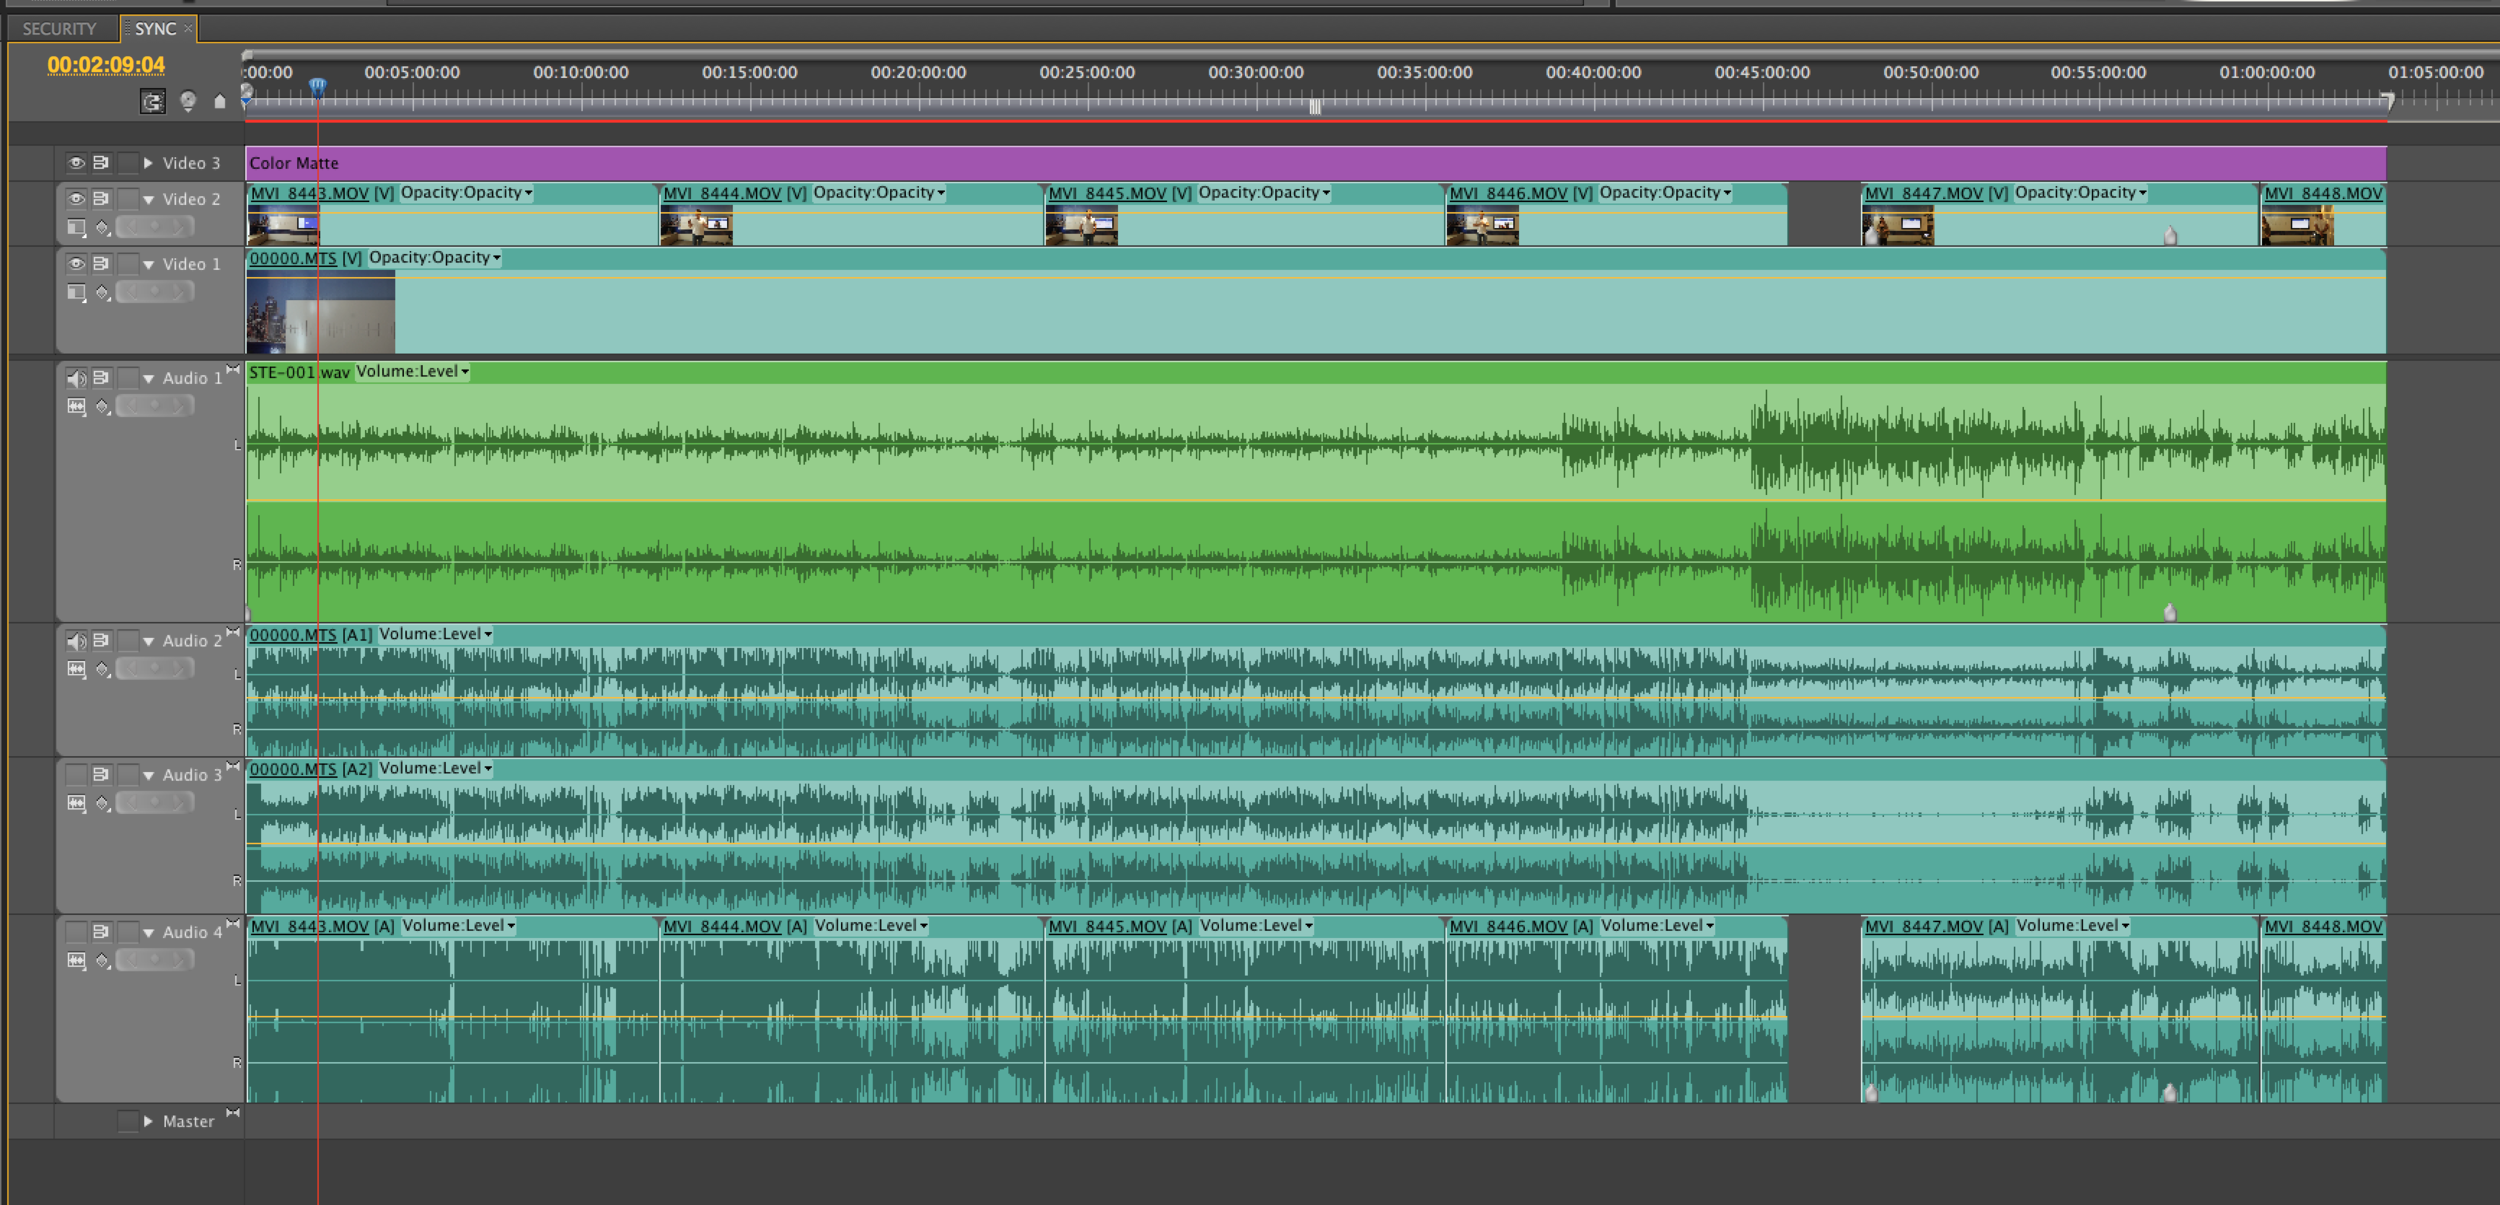
Firstly, you have to sync up all of your footage onto separate tracks - each of which will be their own ‘camera’. We’ll call this track SYNC.

Here the EDIT timeline is named Sequence 03
Once you’ve aligned all your footage (and there are tools in newer versions of NLEs that can sync this up automatically), make a new sequence - EDIT - then drop and drag SYNC into this timeline.

You then enable MultiCam on the SYNC track.

And open the Multi-Cam Monitor, which presents each ‘camera’ as a separate square.
Now for the easy bit.

Record is the little red dot.
Hit record on the Multi-Cam Monitor and just start playing the timeline, and when you want to change cameras, either click or press the number that corresponds with the clip.

Once you’ve done this, you just have to watch the timeline through once and cut it essentially live.

Also, if you make a mistake, you can right-click any clip and adjust the camera to another one.

In these demo projects, I had some slides that I wanted to edit in, but the client had delayed in posting them through, so I made a red track that I cut to whenever I expected to cut into a slide. That enabled me to use the red clips as a guide and align the slides on the EDIT sequence.
Then you’re basically done.